Whether a doll has been very well-loved by a child or placed in storage incorrectly, a doll’s hair can require a lot of TLC from built-up frizz and matting. However, fixing doll hair typically isn’t too challenging. This step-by-step tutorial will provide three different methods to restore doll hair. This is beginner friendly, and easy to follow!
what NOT to do (General Warnings/advice)
Before deep diving into how to restore doll hair, I want to address some warnings to help prevent further damage to doll hair.
In conducting my own research online, I’ve come across multiple sources offering advice that I personally don’t agree with. Especially for beginners to doll restoration, the following methods could easily end very poorly and result in needing to completely replace the doll’s hair.
NEVER use a hair straightener or other heat tools on doll hair
It is crucial to remember that doll hair is made out of plastic. What happens to plastic when it is combined with heat? It melts. This not only completely ruin’s the doll’s hair, but it also releases very harmful toxins into your home.
I’ve seen a few folks online say that it can work so long as you ensure that the there is an abundance of water in the doll’s hair. While water is going to be your best friend in this tutorial, I think it’s better to avoid the risk all together.
Avoid using hair products for humans
I’ve also come across a few different tutorials that utilized hair products for humans like shampoo and conditioner. I advise against using either of these to avoid having residue build up on your doll. Once again, doll hair is plastic, and it doesn’t follow the same care regimen that human’s hair does.
Avoid dry brushing your doll’s hair
Like it sounds, dry brushing is when you comb/brush doll hair when the hair is dry. When brushing doll hair, I highly recommend that you always keep the hair wet or damp with plain water. This prevents unnecessary shedding and frizziness from occurring.
Determine the status of your doll’s hair
Depending on the current condition of your doll’s hair, there may be some necessary preliminary steps to complete before you begin the methods I’m about to discuss.
Frizzy doll hair
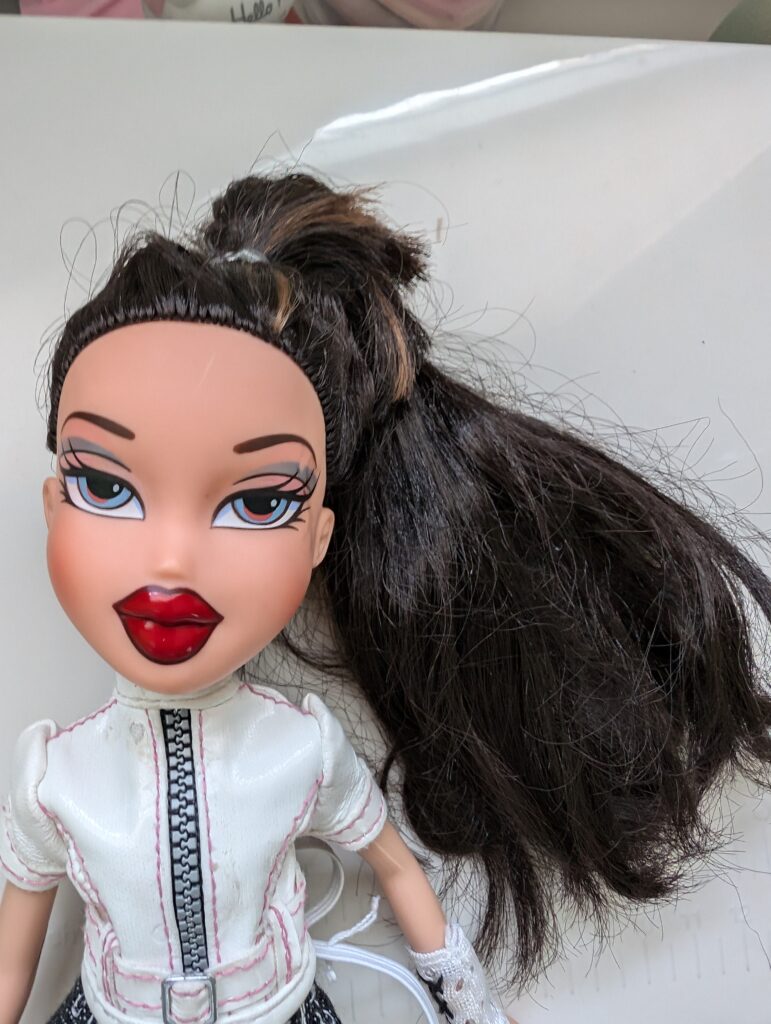
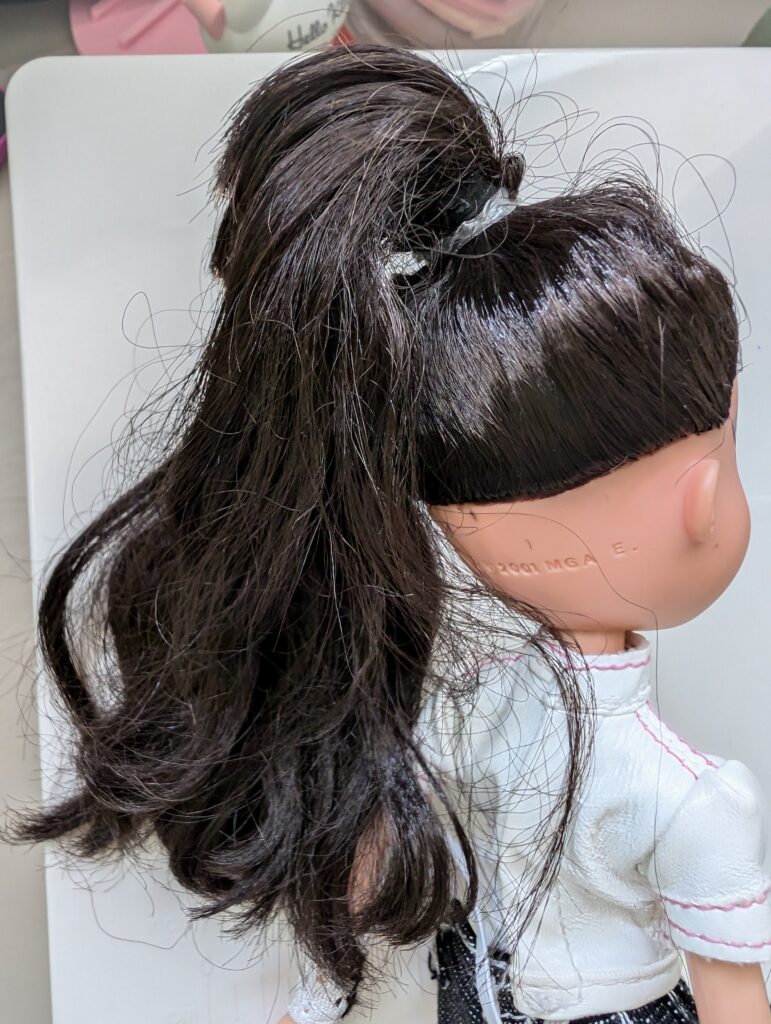
More likely than not, you sought out this tutorial because your doll’s hair is a frizzy mess. This is the most common problem I’ve witnessed in dolls. Excessive dry brushing or general rough treatment of the dolls can easily make this occur. Depending on the severity, frizzy doll hair can be fixed relatively easily with any of three methods in this post.
Doll Hair with glue seepage
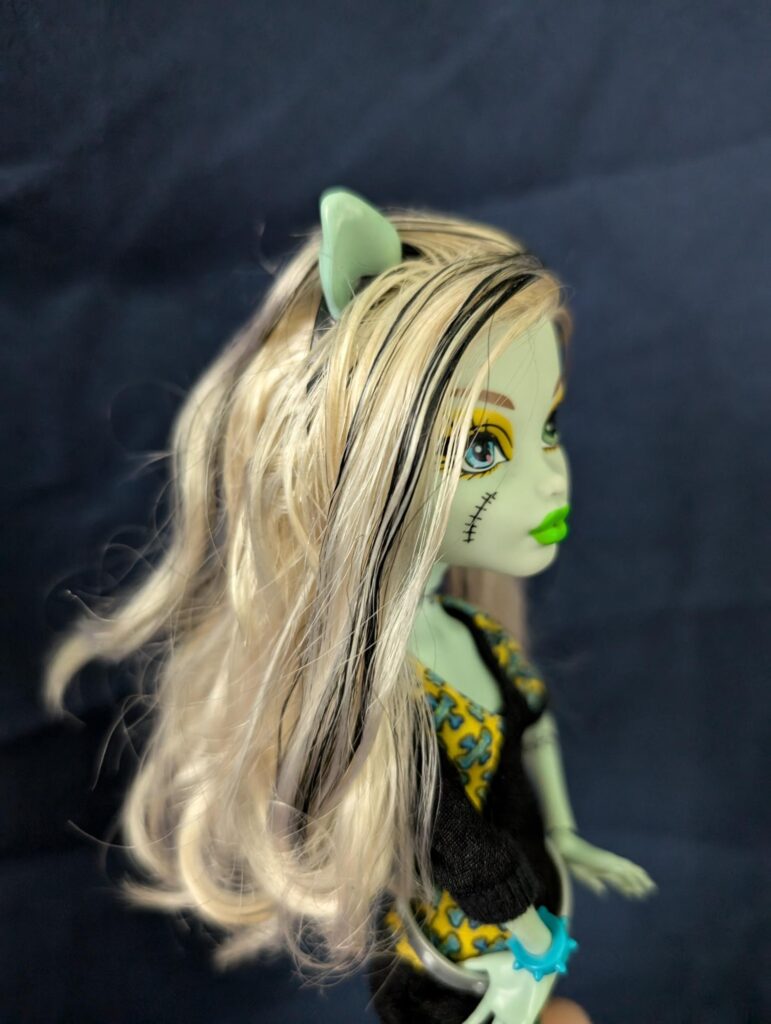
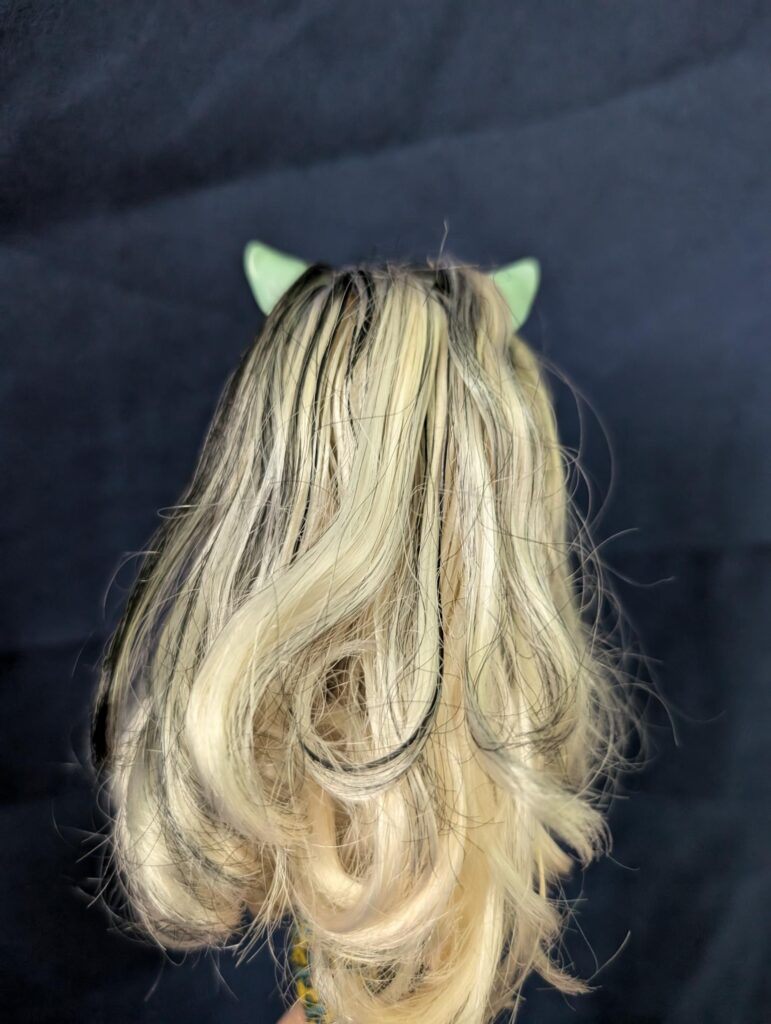
If your doll is experiencing glue seepage, it is highly important to address that problem before you attempt to fix anything else hair-related. Speaking from personal experience, I have spent a couple of hours trying to restore one of my doll’s hair, only to realize too late that the doll had some glue seepage issues.
Glue seepage can prevent the hair styling you do from staying in place. It gives the doll an overall deflated and greasy look. Not cute.
If you have ascertained that your doll does have glue seepage, follow this tutorial on how to remove glue seepage from doll hair before you begin the other restoration steps.
Matted doll hair
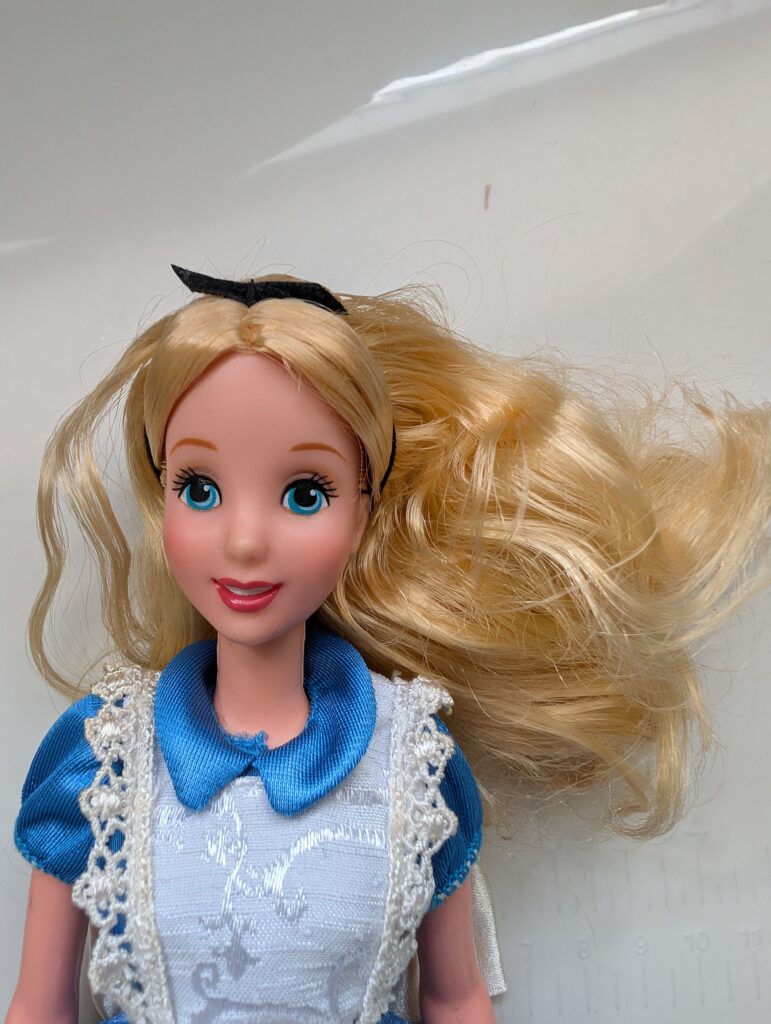
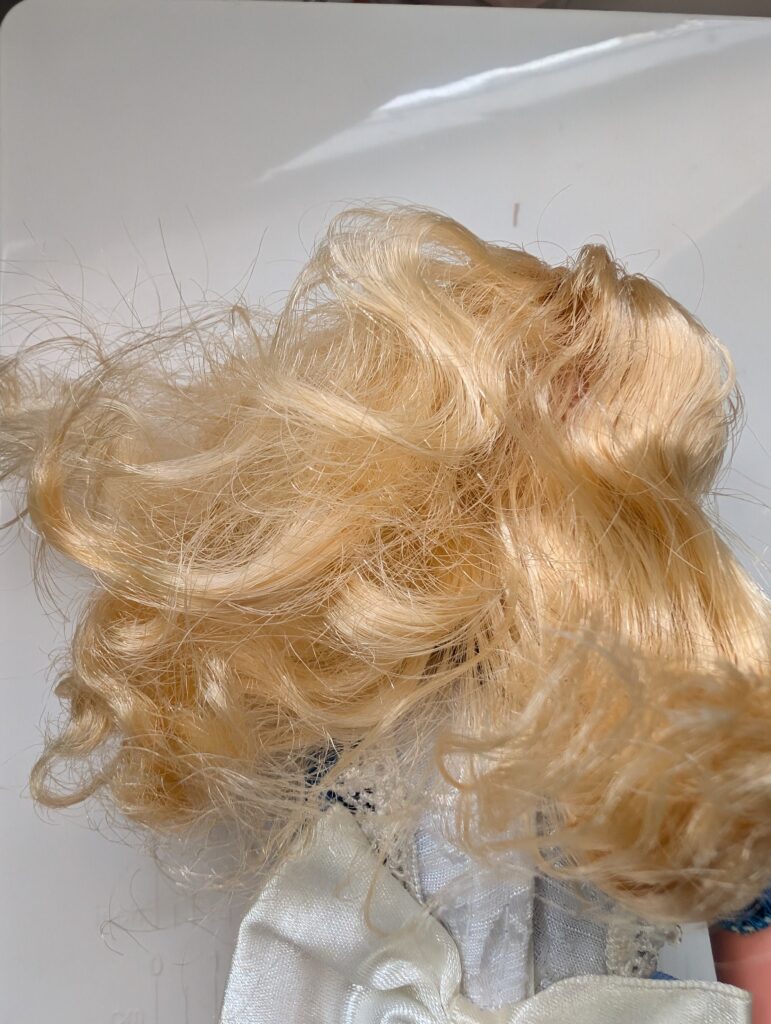
The easiest way to tell the difference between standard frizziness and matted hair is to physically feel it where the tangle is. If the hair feels hard and doesn’t detangle with simple finger brushing, it’s most likely matted.
If your doll’s hair has become a matted mess, skip down to the last method mentioned in this post. Any attempts using the other methods will be in vein if you do not successfully remove the matting.
Method 1: Boil washing doll hair
I find the concept of boil washing pretty hilarious. It sounds like a ridiculous method on the surface, but I’ve witnessed great success with it. It can also help to clean the doll hair!
For this method, you will need: a stove, a small pot, a cup/bowl of cold water, a wire brush, and a towel.
Here are the steps I use for this method:
- Wet the doll hair with plain water in a spray bottle. Brush out any tangles using a wire brush and/or wide tooth comb.
- At your stovetop, bring a small pot of plain water to a low boil. Avoid getting to a rolling boil. If the water is too hot, you run the risk of burning/melting your doll’s hair. Ideally, you should only have a little bit of steam coming off the water.
- Dunk the doll’s head into the hot water for about 10 seconds. Yes, this is actually how you do this! Be mindful not to burn yourself as you’re holding the doll.
- Run the doll hair under cold water at your sink or have a bowl/cup of cold water ready beside you to dunk the doll into. You only need to do this for a few moments. (Yes, this is just like blanching if you’re familiar with that cooking method.)
- Gently scrunch the doll’s hair into the towel to avoid dropping water everywhere.
- While the doll hair is still wet, gently brush the hair in the direction you want it to lay. (I’ve accidentally caused doll hair to defy gravity and stick straight up because I’ve neglected to do this step in a timely manner.)
- Repeat steps as needed.
Method 2: Using a Steamer
Using a steamer to restore doll hair is my preferred method. It is notably trickier than doing a simple boil wash, but I’ve noticed that I can style and manipulate the doll hair better this way.
Please be very careful using this method. I’ve unfortunately burned myself badly before doing this, but the results are so good that I keep going back to it. So long as you are mindful of where the steam is going, you should be just fine. Just remember: steam is hot and will burn you.
For this method, you will need: a steamer, a towel, a spray bottle with plain water, and a wire brush.
Here are the steps I use for this method:
- Wet the doll hair with a spray bottle and gently comb out any tangles using a wire brush and/or wide tooth comb.
- Turn on your steamer and set it upright on a table or counter. I recommend using a steamer with a small nose to better control where the steam is going.
- Hold your doll upwards, grabbing onto its legs/feet. You should hold your doll like this at all times to prevent burns. Remember: the steam will travel up, so you want your hand to be below it.
- Making sure that your hand holding the doll is BENEATH the nose of the steamer, lift your doll’s hair up into the steam.
- Be sure to move and turn the doll so that all of the hair is getting steamed. Do not directly put the doll hair on the nose of the steamer as this may cause burnt/melted hair. Only place the doll in the steam.
- Regularly remove the doll from the steam and gently brush it with your wire brush. You may need to spray it with water if the steam is evaporating quickly from the doll’s hair.
- Repeat as needed.
Method 3: Using fabric softener
This method is mostly used in two scenarios: de-matting doll hair or removing leftover frizz after boil washing/steaming.
This method is the most gentle of the three, so you don’t need to worry about accidentally worsening the condition of your doll’s hair.
For this method, you’ll need: a spray bottle, fabric softener, plain water, and a wire brush/comb.
In terms of which fabric softener to use, pretty much any kind will work. However, I recommend utilizing fabric softener for babies/sensitive skin s as it doesn’t have harsh chemicals.
Here are the steps I use for this method:
- Combine 1:5 parts fabric softener and plain water into your spray bottle. Keep in mind that less is always more. It’s easier to add more softener than it is to take it away.
- Spray a generous amount of your softener/water combination directly onto the doll’s hair. The hair should be at least damp if not wet.
- Working from the bottom up, gently brush the doll’s hair with your wire brush. To clarify, brush the ends of the hair first and slowly move up towards the roots. This technique will help prevent hair shedding.
- Be sure to spray more of your water solution as you go. The doll’s hair should never be dry while you’re brushing it.
- Repeat as needed.
- Once you’re satisfied with your progress, balance the doll upright to air dry its hair. Feel free to set a towel beneath the doll to catch any water droplets while it’s drying.
I hope this tutorial on how to restore doll hair is helpful for you! I wish you the best of luck on your doll restoration journey.
Leave a Reply