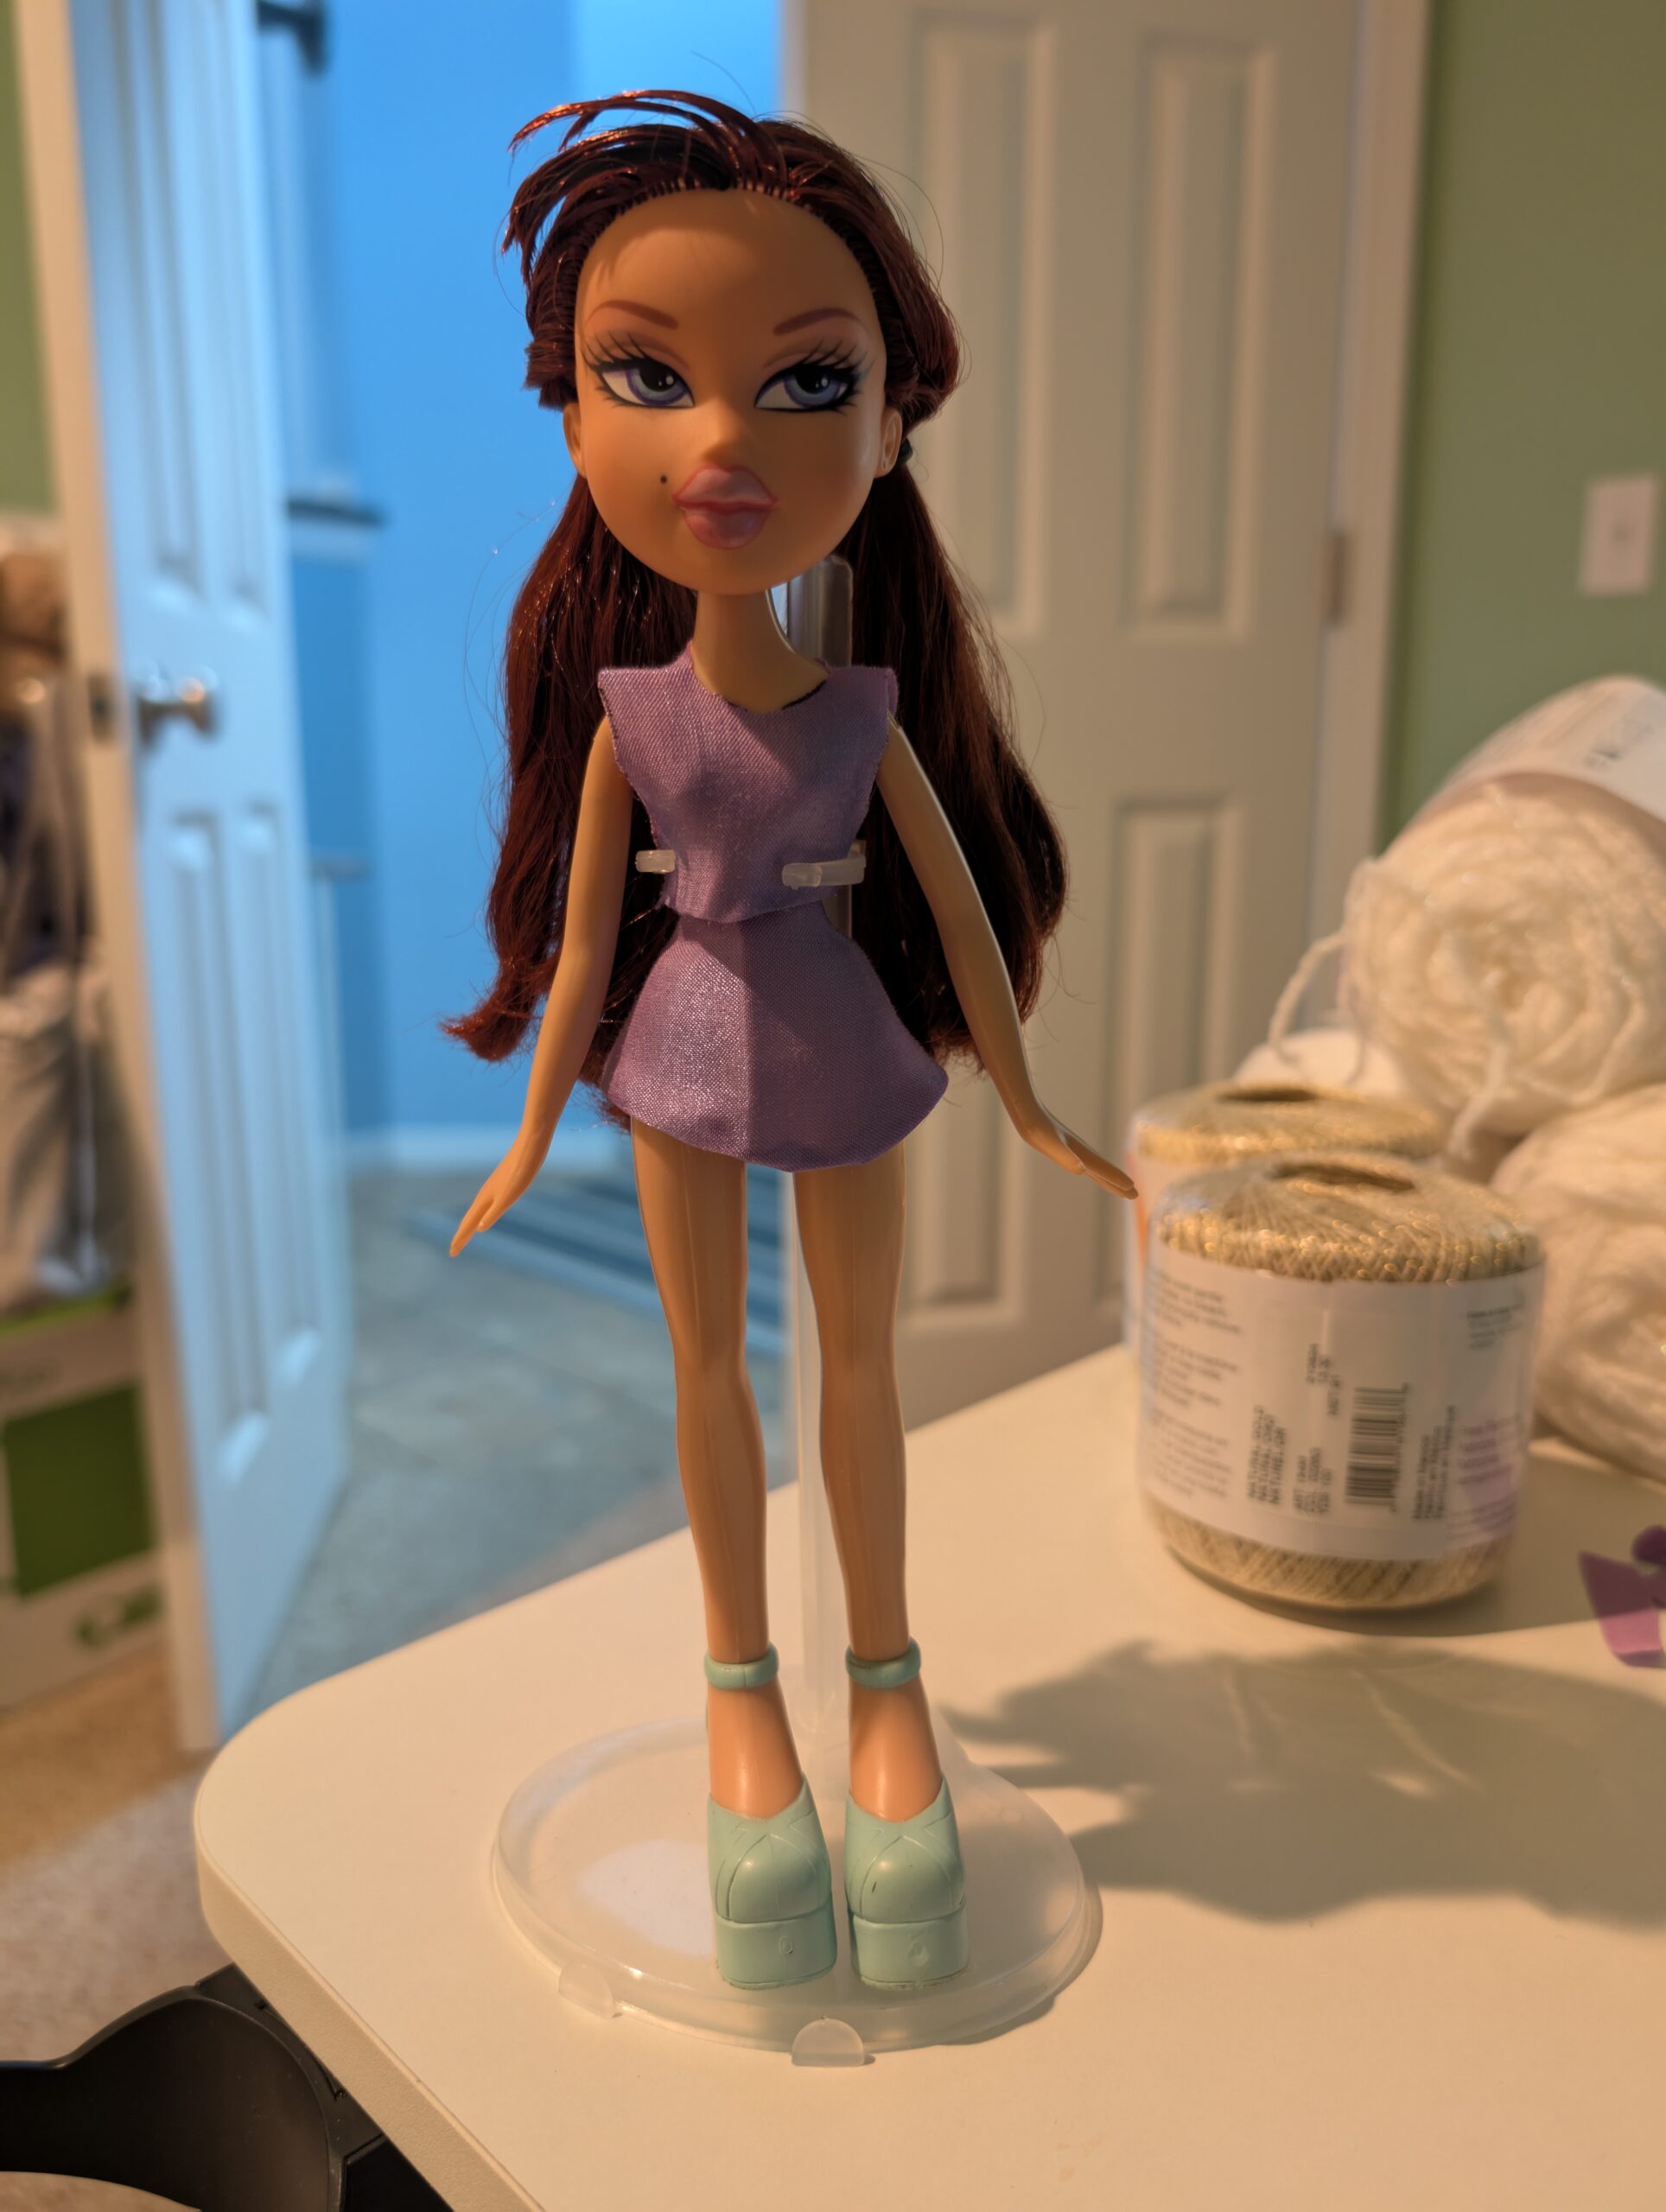
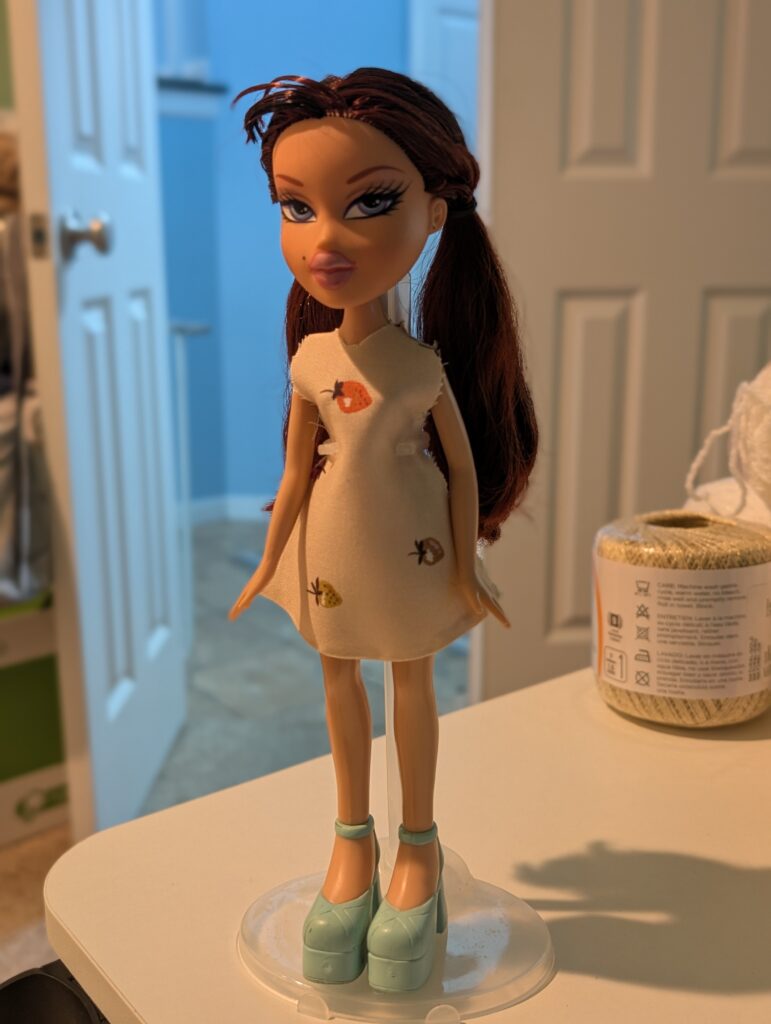
Want to make a new outfit for your doll, but don’t want to do any tedious sewing? No problem! This tutorial will teach you how to make clothes for dolls without sewing. It includes free patterns to fit these major doll brands: American Girl, Barbie, Bratz, and Monster High.
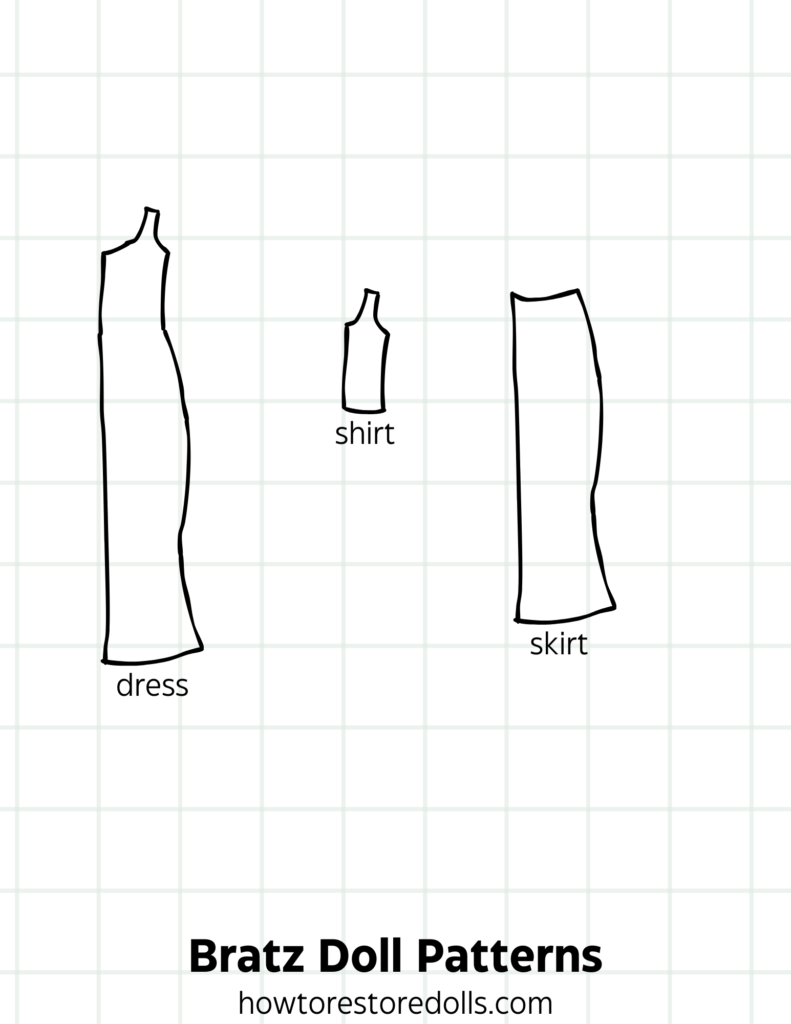
Regardless of which brand of doll you’re making clothes for, the tutorial is all the same! However, the patterns are not. Please utilize the hyperlinks below to skip to the brand-specific pattern you need for your doll.
Please note: when using the patterns below, you’ll have to flip the cut out to get the entire shape. This will be explained more in the tutorials.
Supplies You’ll Need
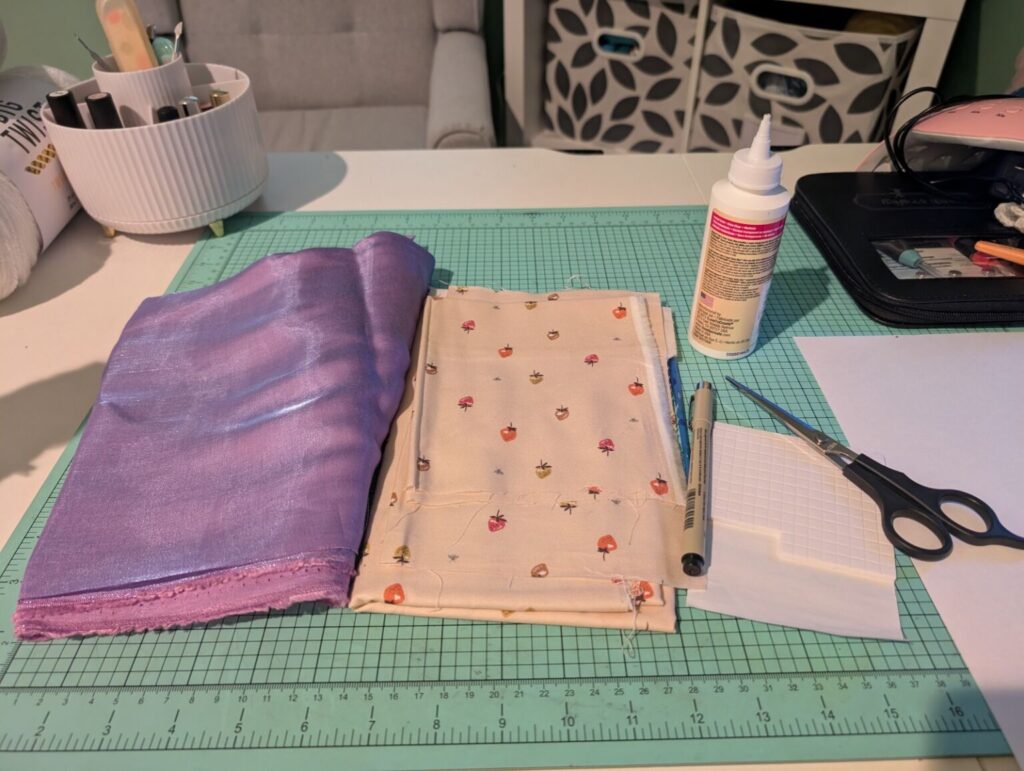
- Fabric of your choice (I use old bed sheets in this tutorial. I highly recommend finding something old at home or at a thrift store– it’s more sustainable and it typically is better quality!)
- Fabric scissors (regular scissors should work as well, but fabric scissors usually cut through the material better)
- Fabric glue or craft glue
- Velcro dots
- Fabric marker to outline the pattern on your fabric (the one I’ve linked to will erase with just water!)
Dress Tutorial
Step 1: Print off the pattern that will fit your doll.
You can free-hand your pattern if you don’t have access to a printer, but it’s a lot easier to make it symmetrical if you do print it.
Step 2: Cut out the shape of the pattern. Then, fold your fabric in half once, and place the pattern on top of the fold like so.
You can fold the paper with the pattern in half before you cut out the shape to “double” it like I have in the photos.
Make sure to line up the edge of the pattern to where the fabric is folded.
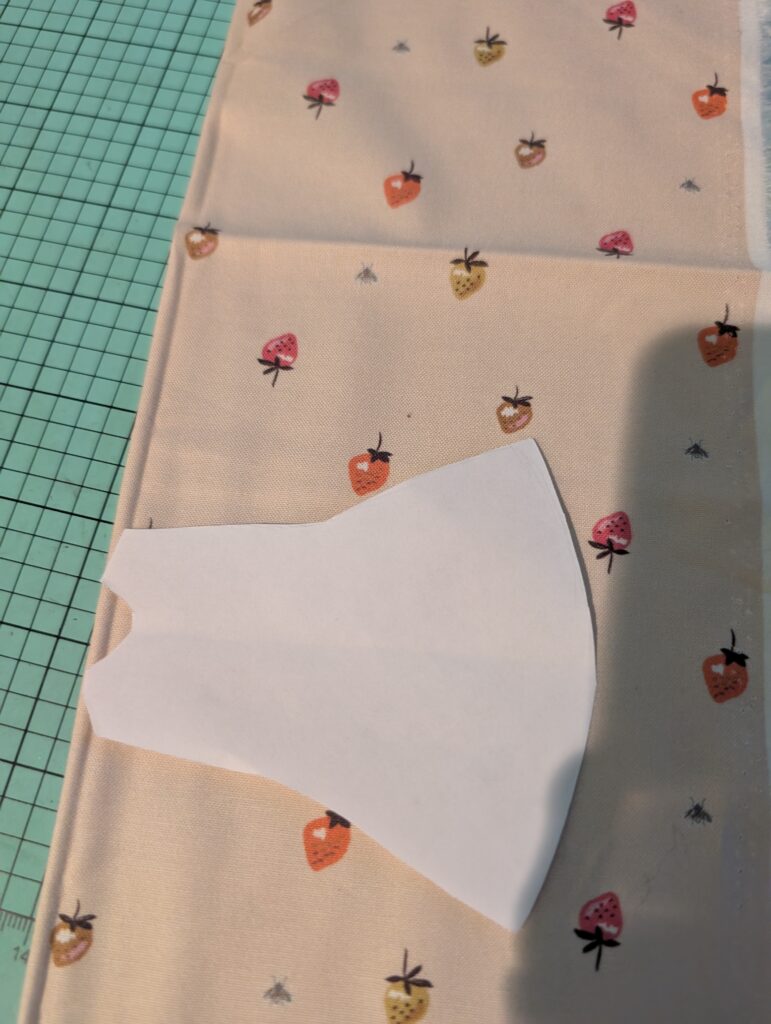
Step 3: Trace your pattern onto the fabric with your fabric marker.
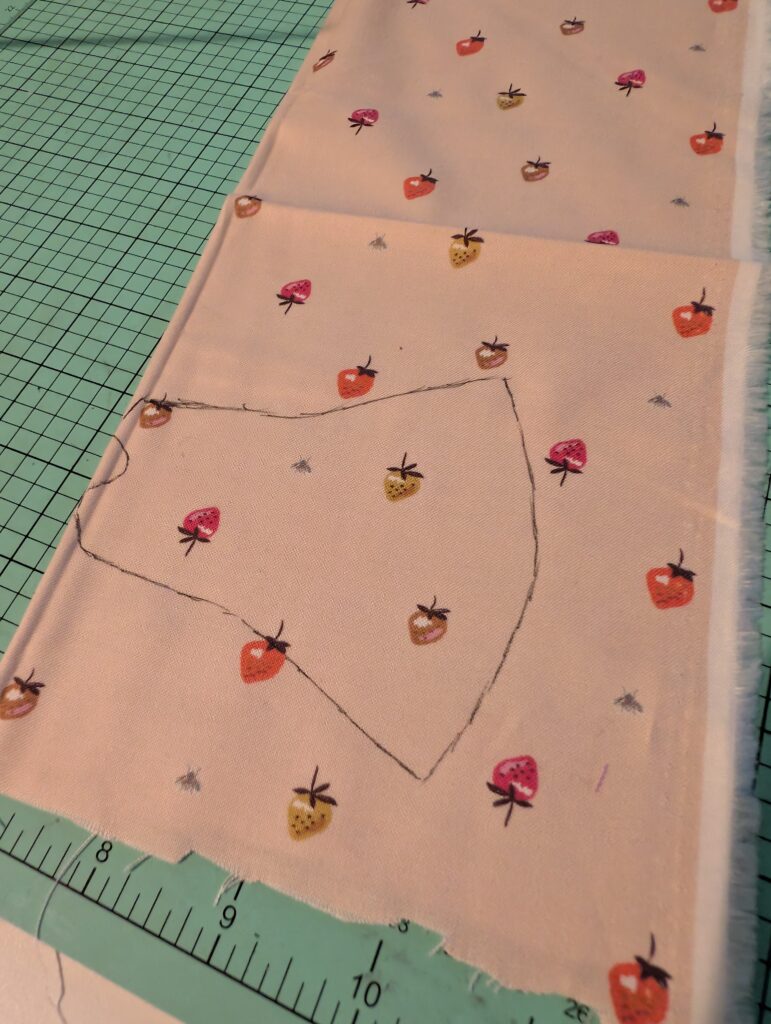
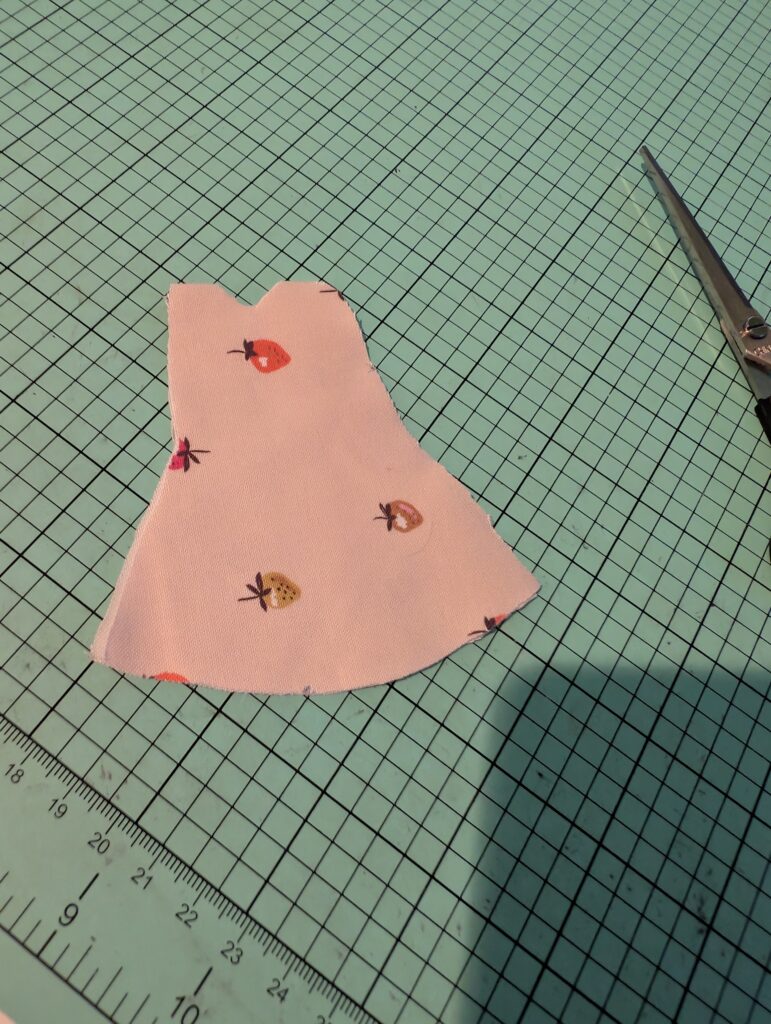
Step 4: Cut out the dress.
Pro tip: cut the neckline out first to better keep the fabric aligned.
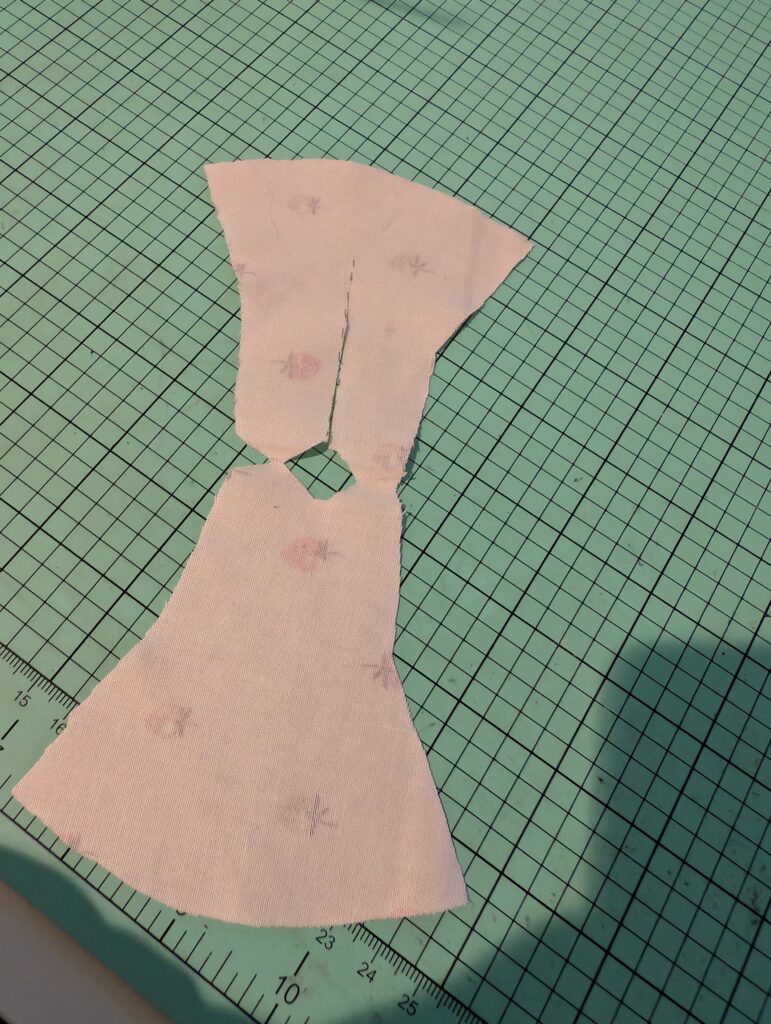
Step 5: Draw & cut a line down the back side of the dress. This will be an important step for later.
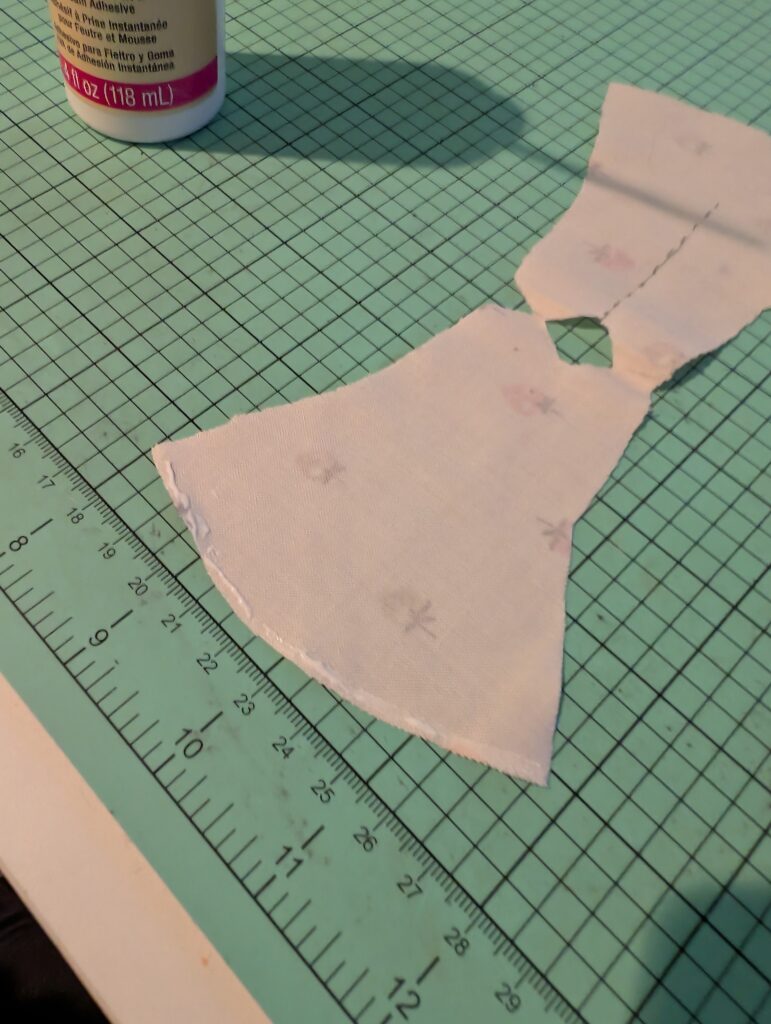
Step 6: Add a very thin line of glue to the bottom of the dress.
This step is mostly for aesthetic reasons. It makes the bottom hem not look as rough.
Step 7: Fold the glued fabric over and gently press it down.
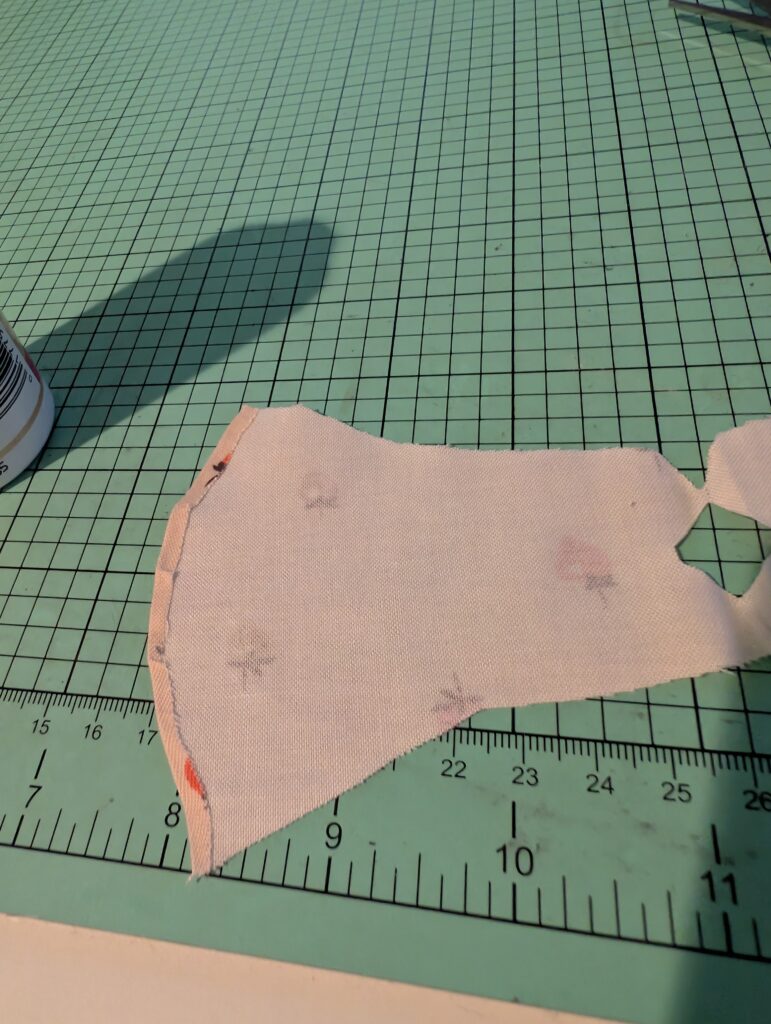
Repeat the last two steps for the other side of the dress.
Step 8: Place a thin line of glue on the sides of the dress. Press down the fabric to connect the pieces.
Make sure to leave room towards the top to create sleeves.
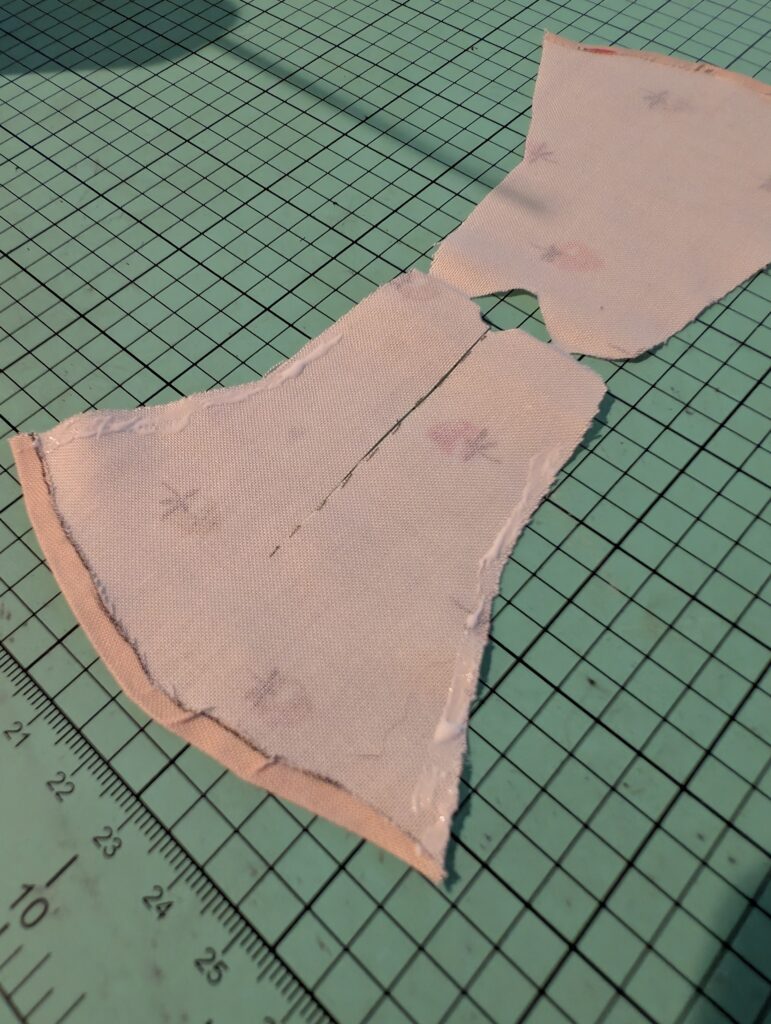
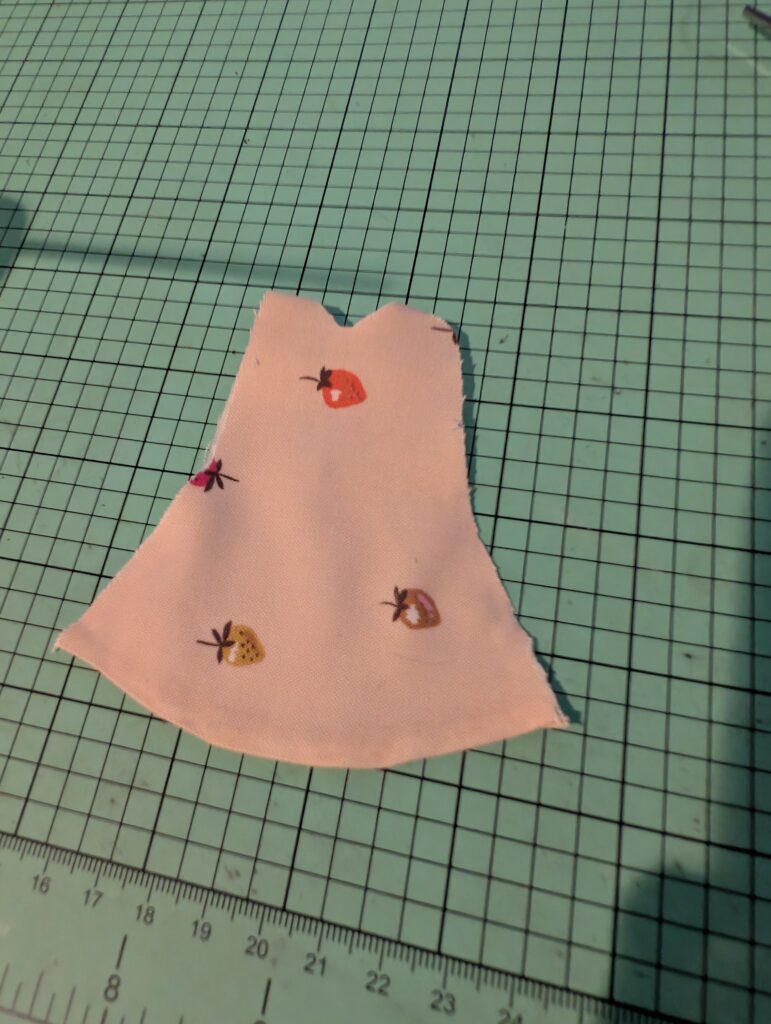
Step 9: Glue on your Velcro pieces to the back of the dress.
At the time of making this, I did not have Velcro, so I used foam squares. I do, however, recommend using Velcro to avoid the unnecessary bump.
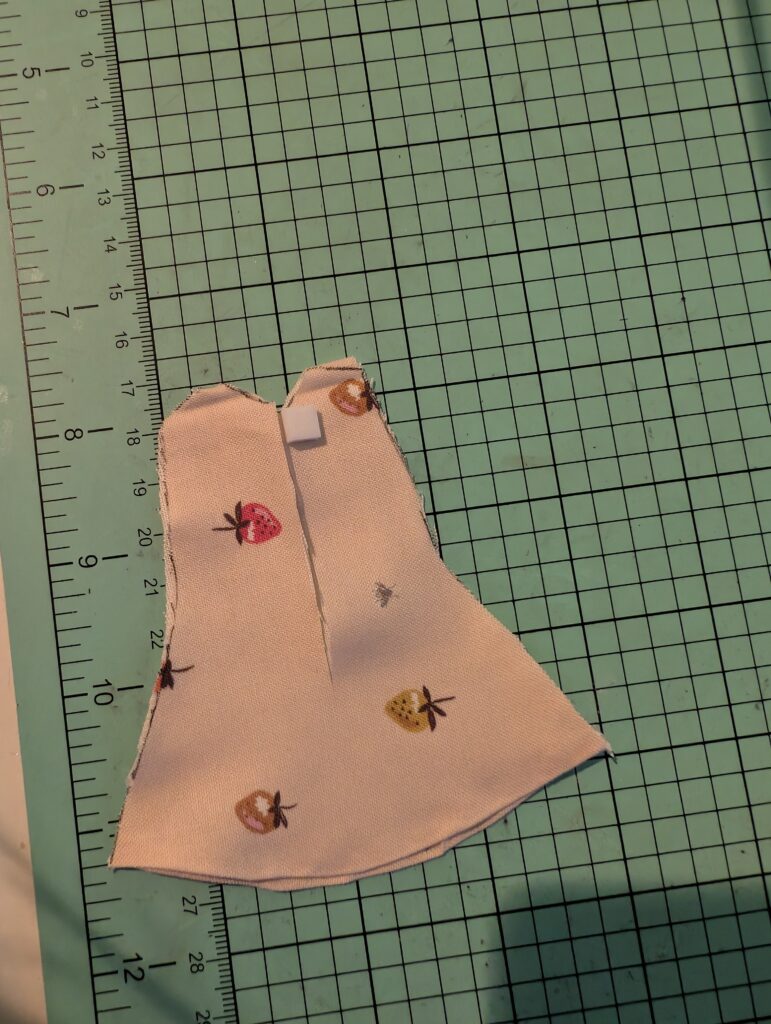
Step 10: Try the dress on your doll and see how it fits!
Hopefully, this will be the last step for you. If it is too small, try it again, but make the pattern larger.
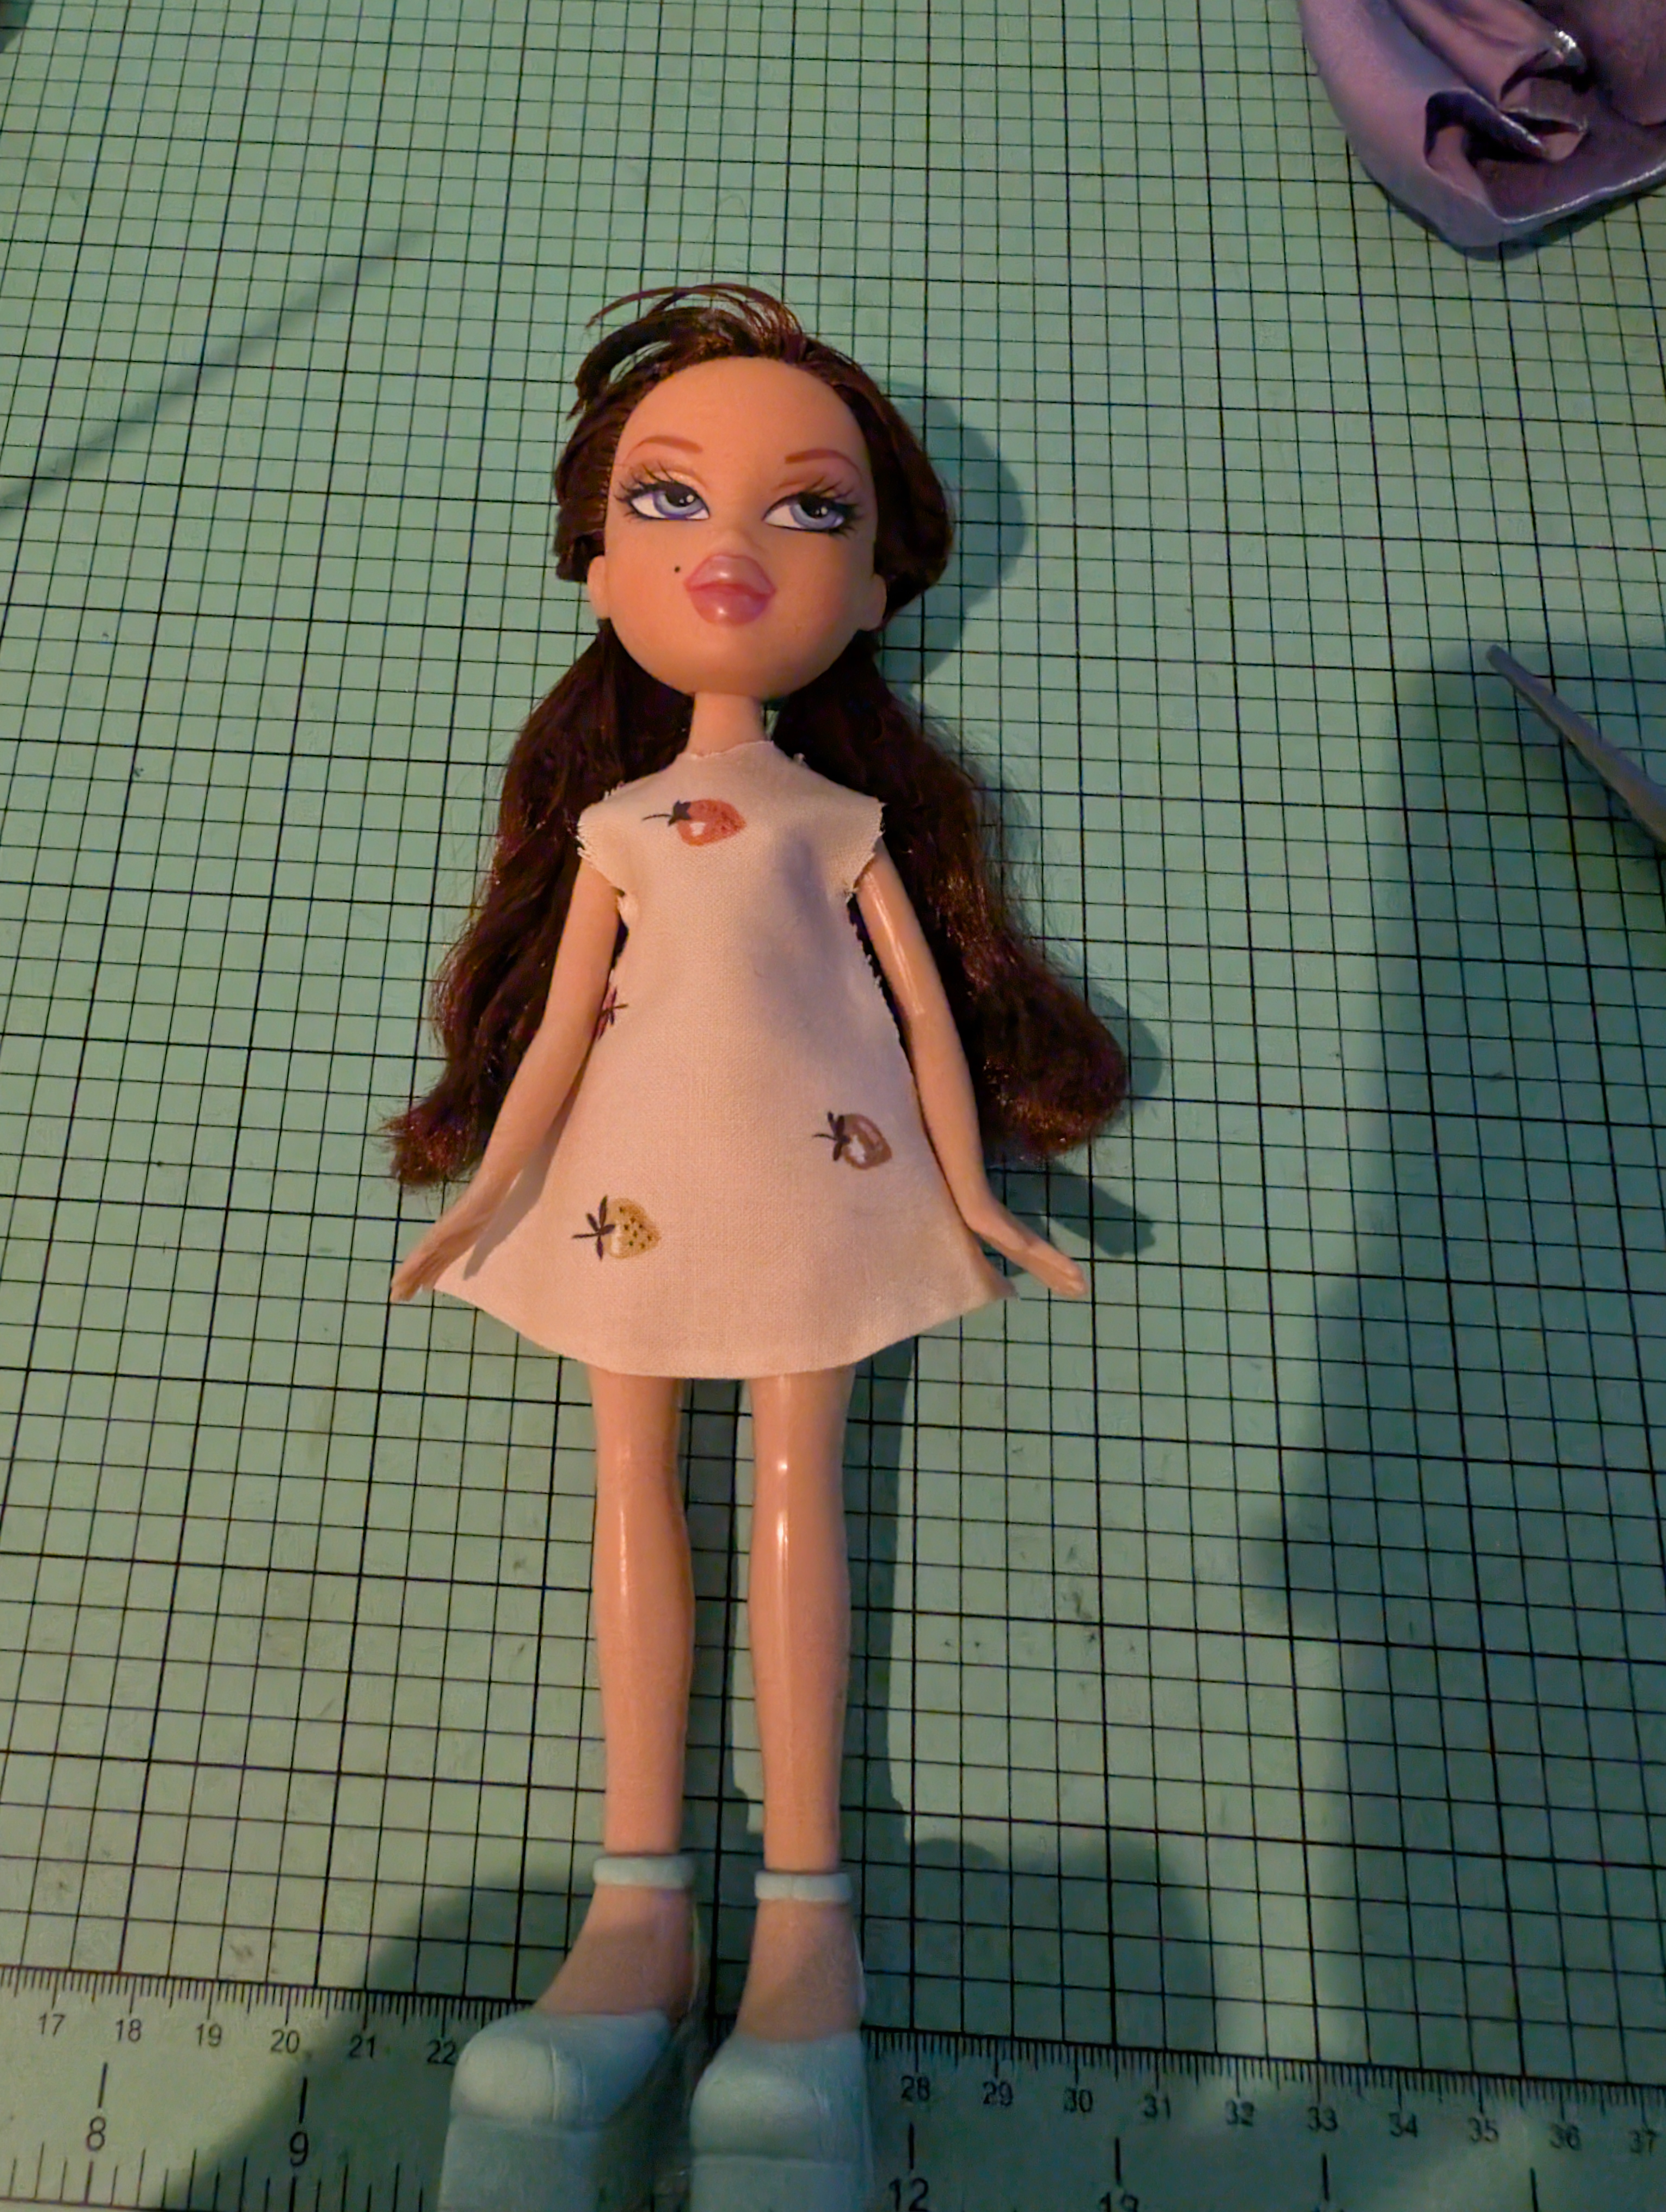
Skirt Tutorial
Step 1: Print off the pattern that will fit your doll.
Depending on the brand of doll you have, the pattern will vary. Please reference the patterns below!
Step 2: Cut out the shape of the pattern. Then, fold your fabric in half once, and place the pattern on top of the fold like so.
Triple check that the edge of the skirt pattern is lined up with the fold of the fabric. This keeps it looking symmetrical.
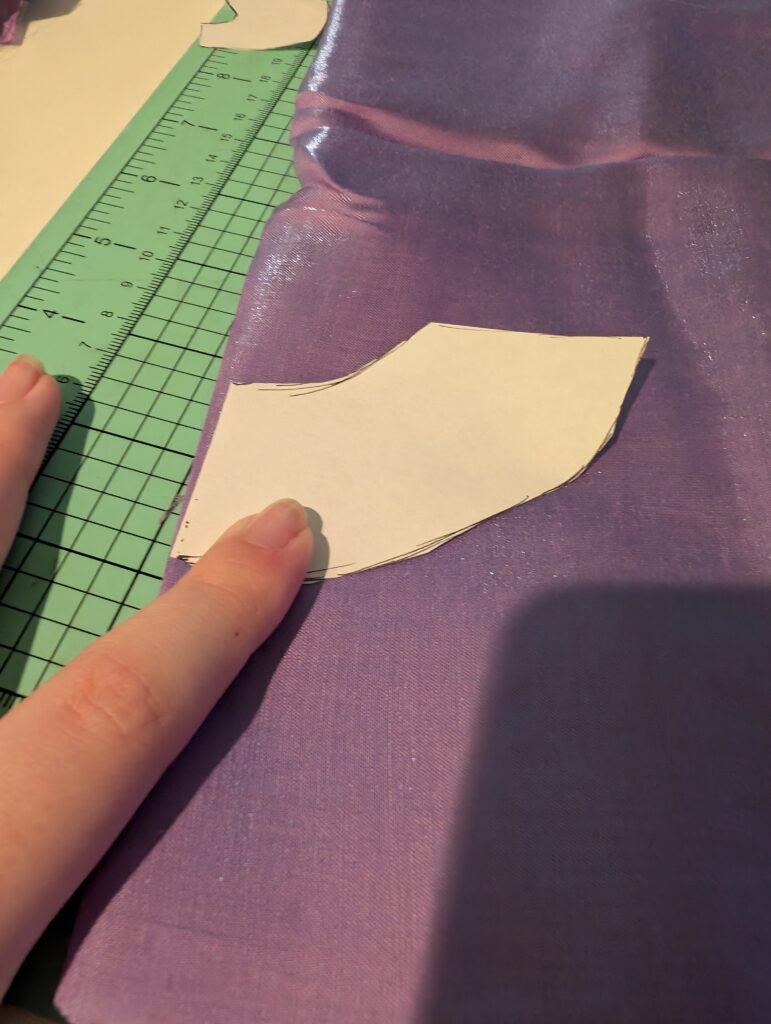
Step 3: Trace the pattern onto the fabric with your fabric marker.
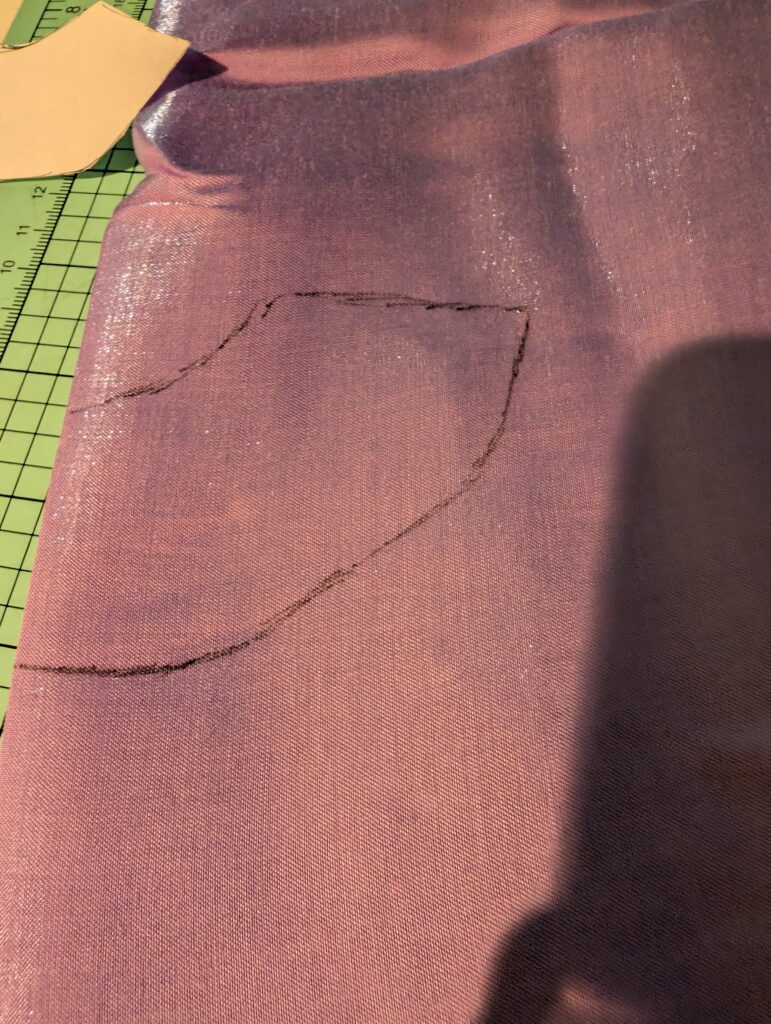
Step 4: While maintaining the fabric fold, cut out the traced pattern.
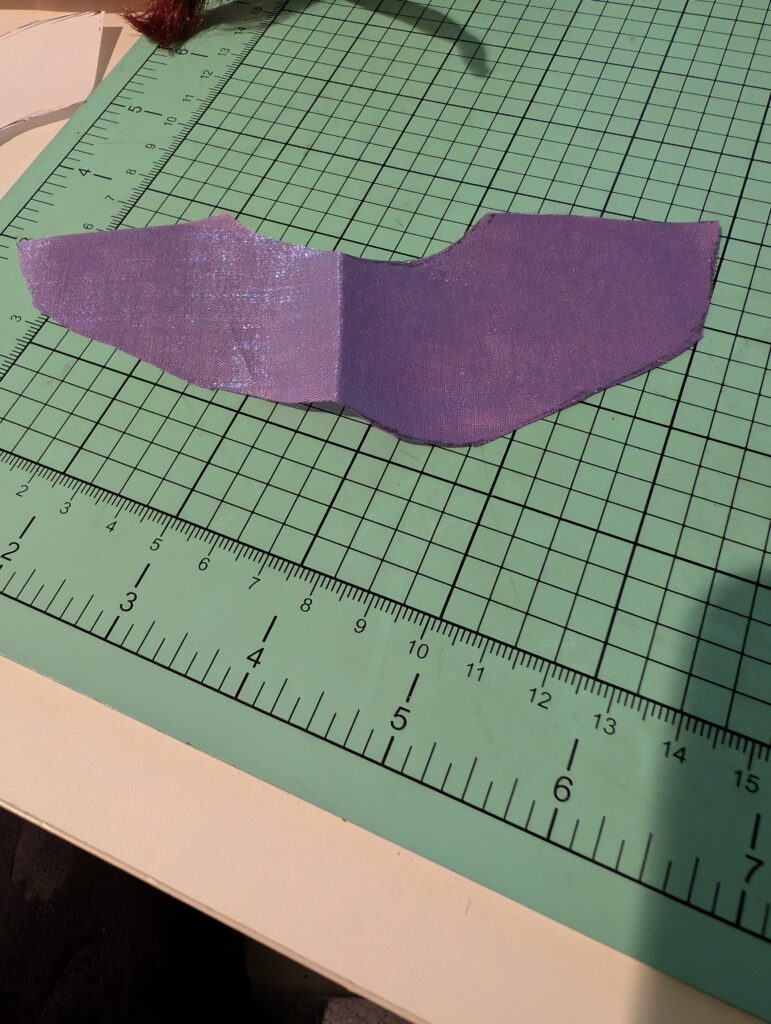
Step 5: Add a very thin line of glue near the side edge of the skirt.
Be mindful not to add too much glue. You don’t want it to spread elsewhere.
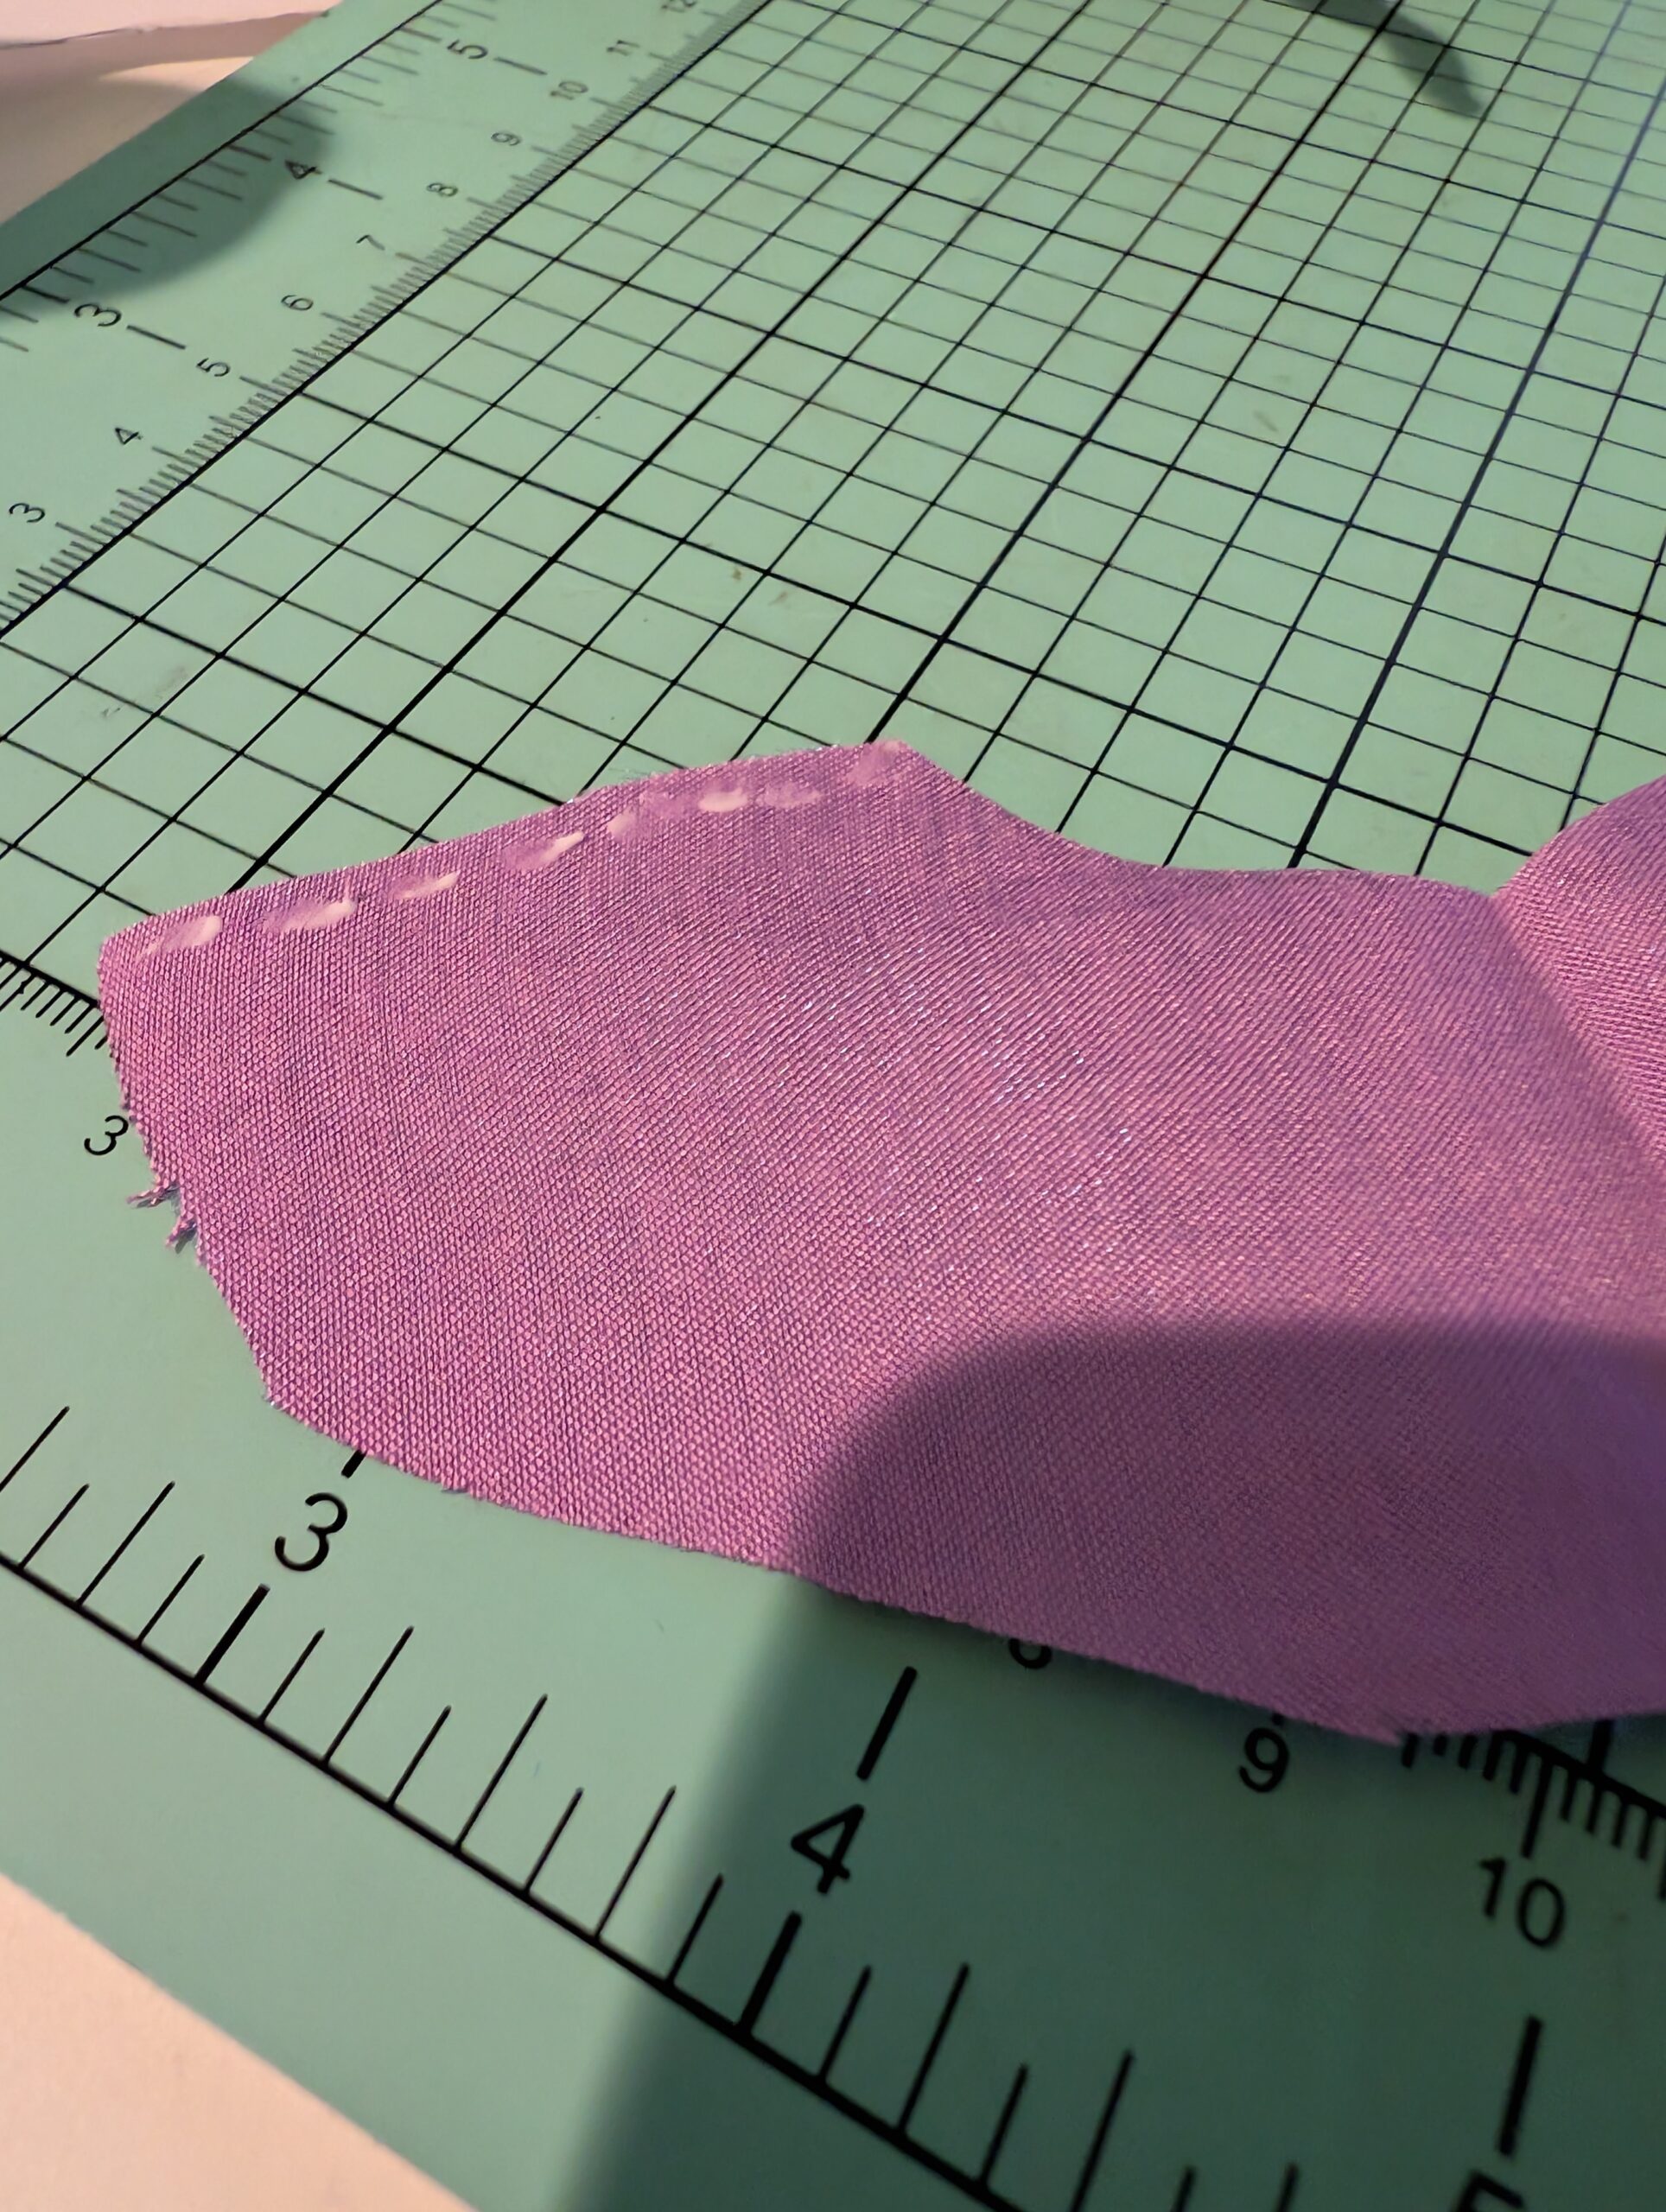
Step 6: Press down the fabric you’ve glued to make the sides have a nicer hem.
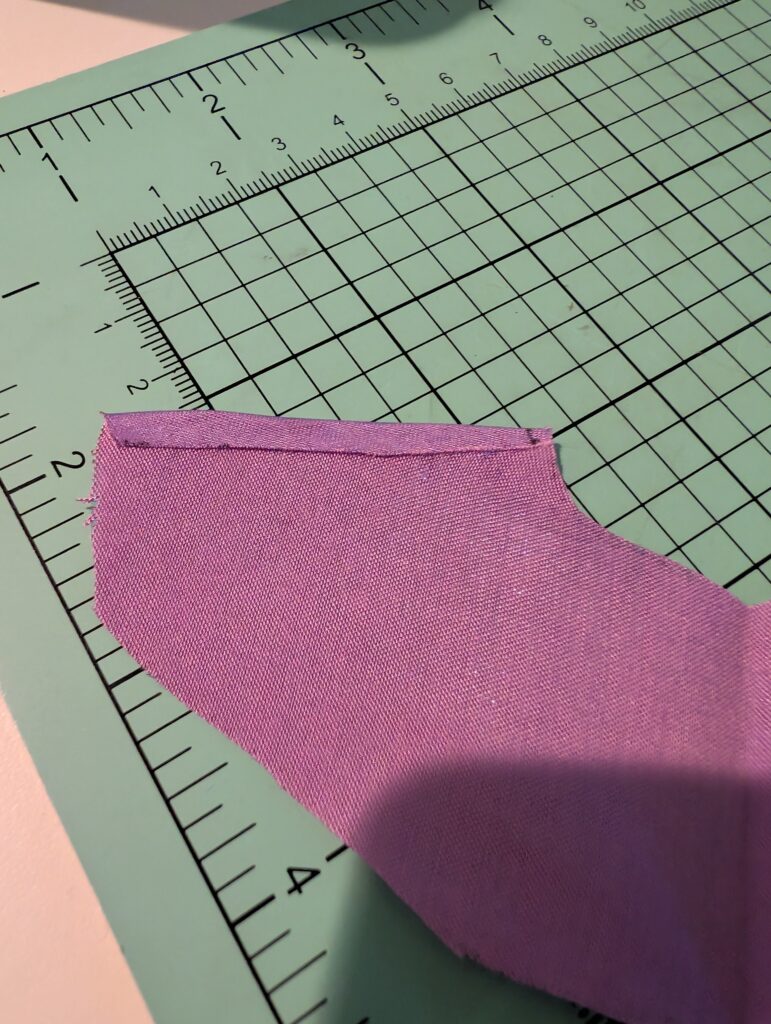
Repeat the previous two steps on the other side hem of the skirt.
Step 7: Add a very thin line of glue near the bottom of the skirt.
Like before, be careful and avoid putting too much.
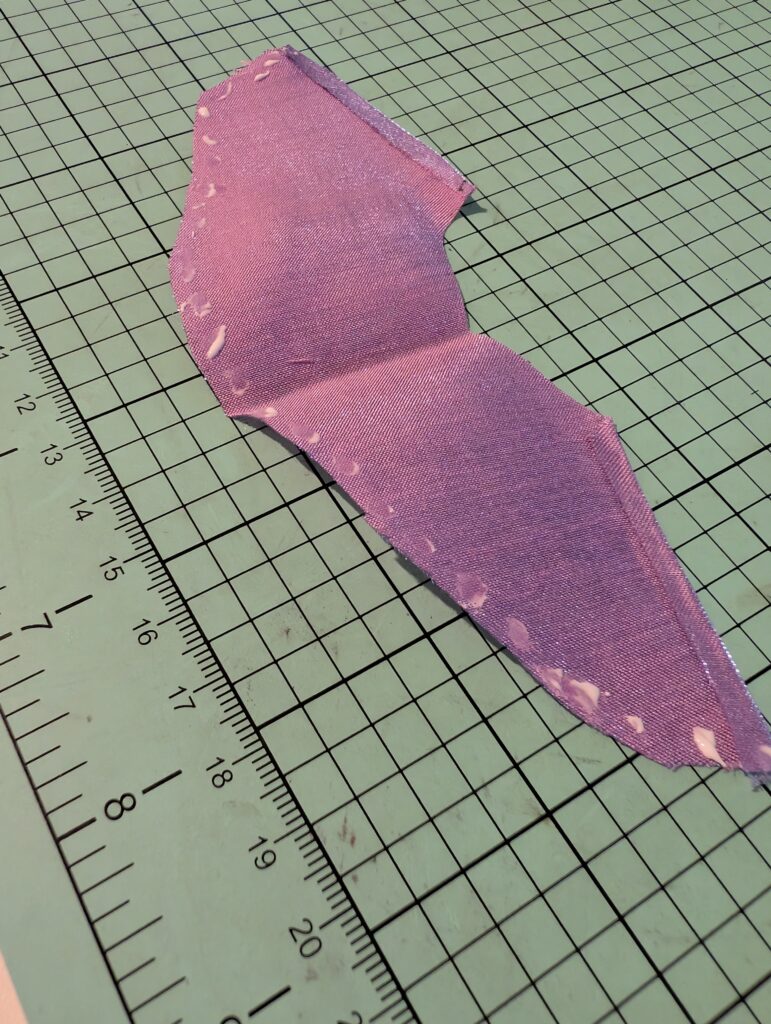
Step 8: Press down the glued bottom to create the bottom hem.
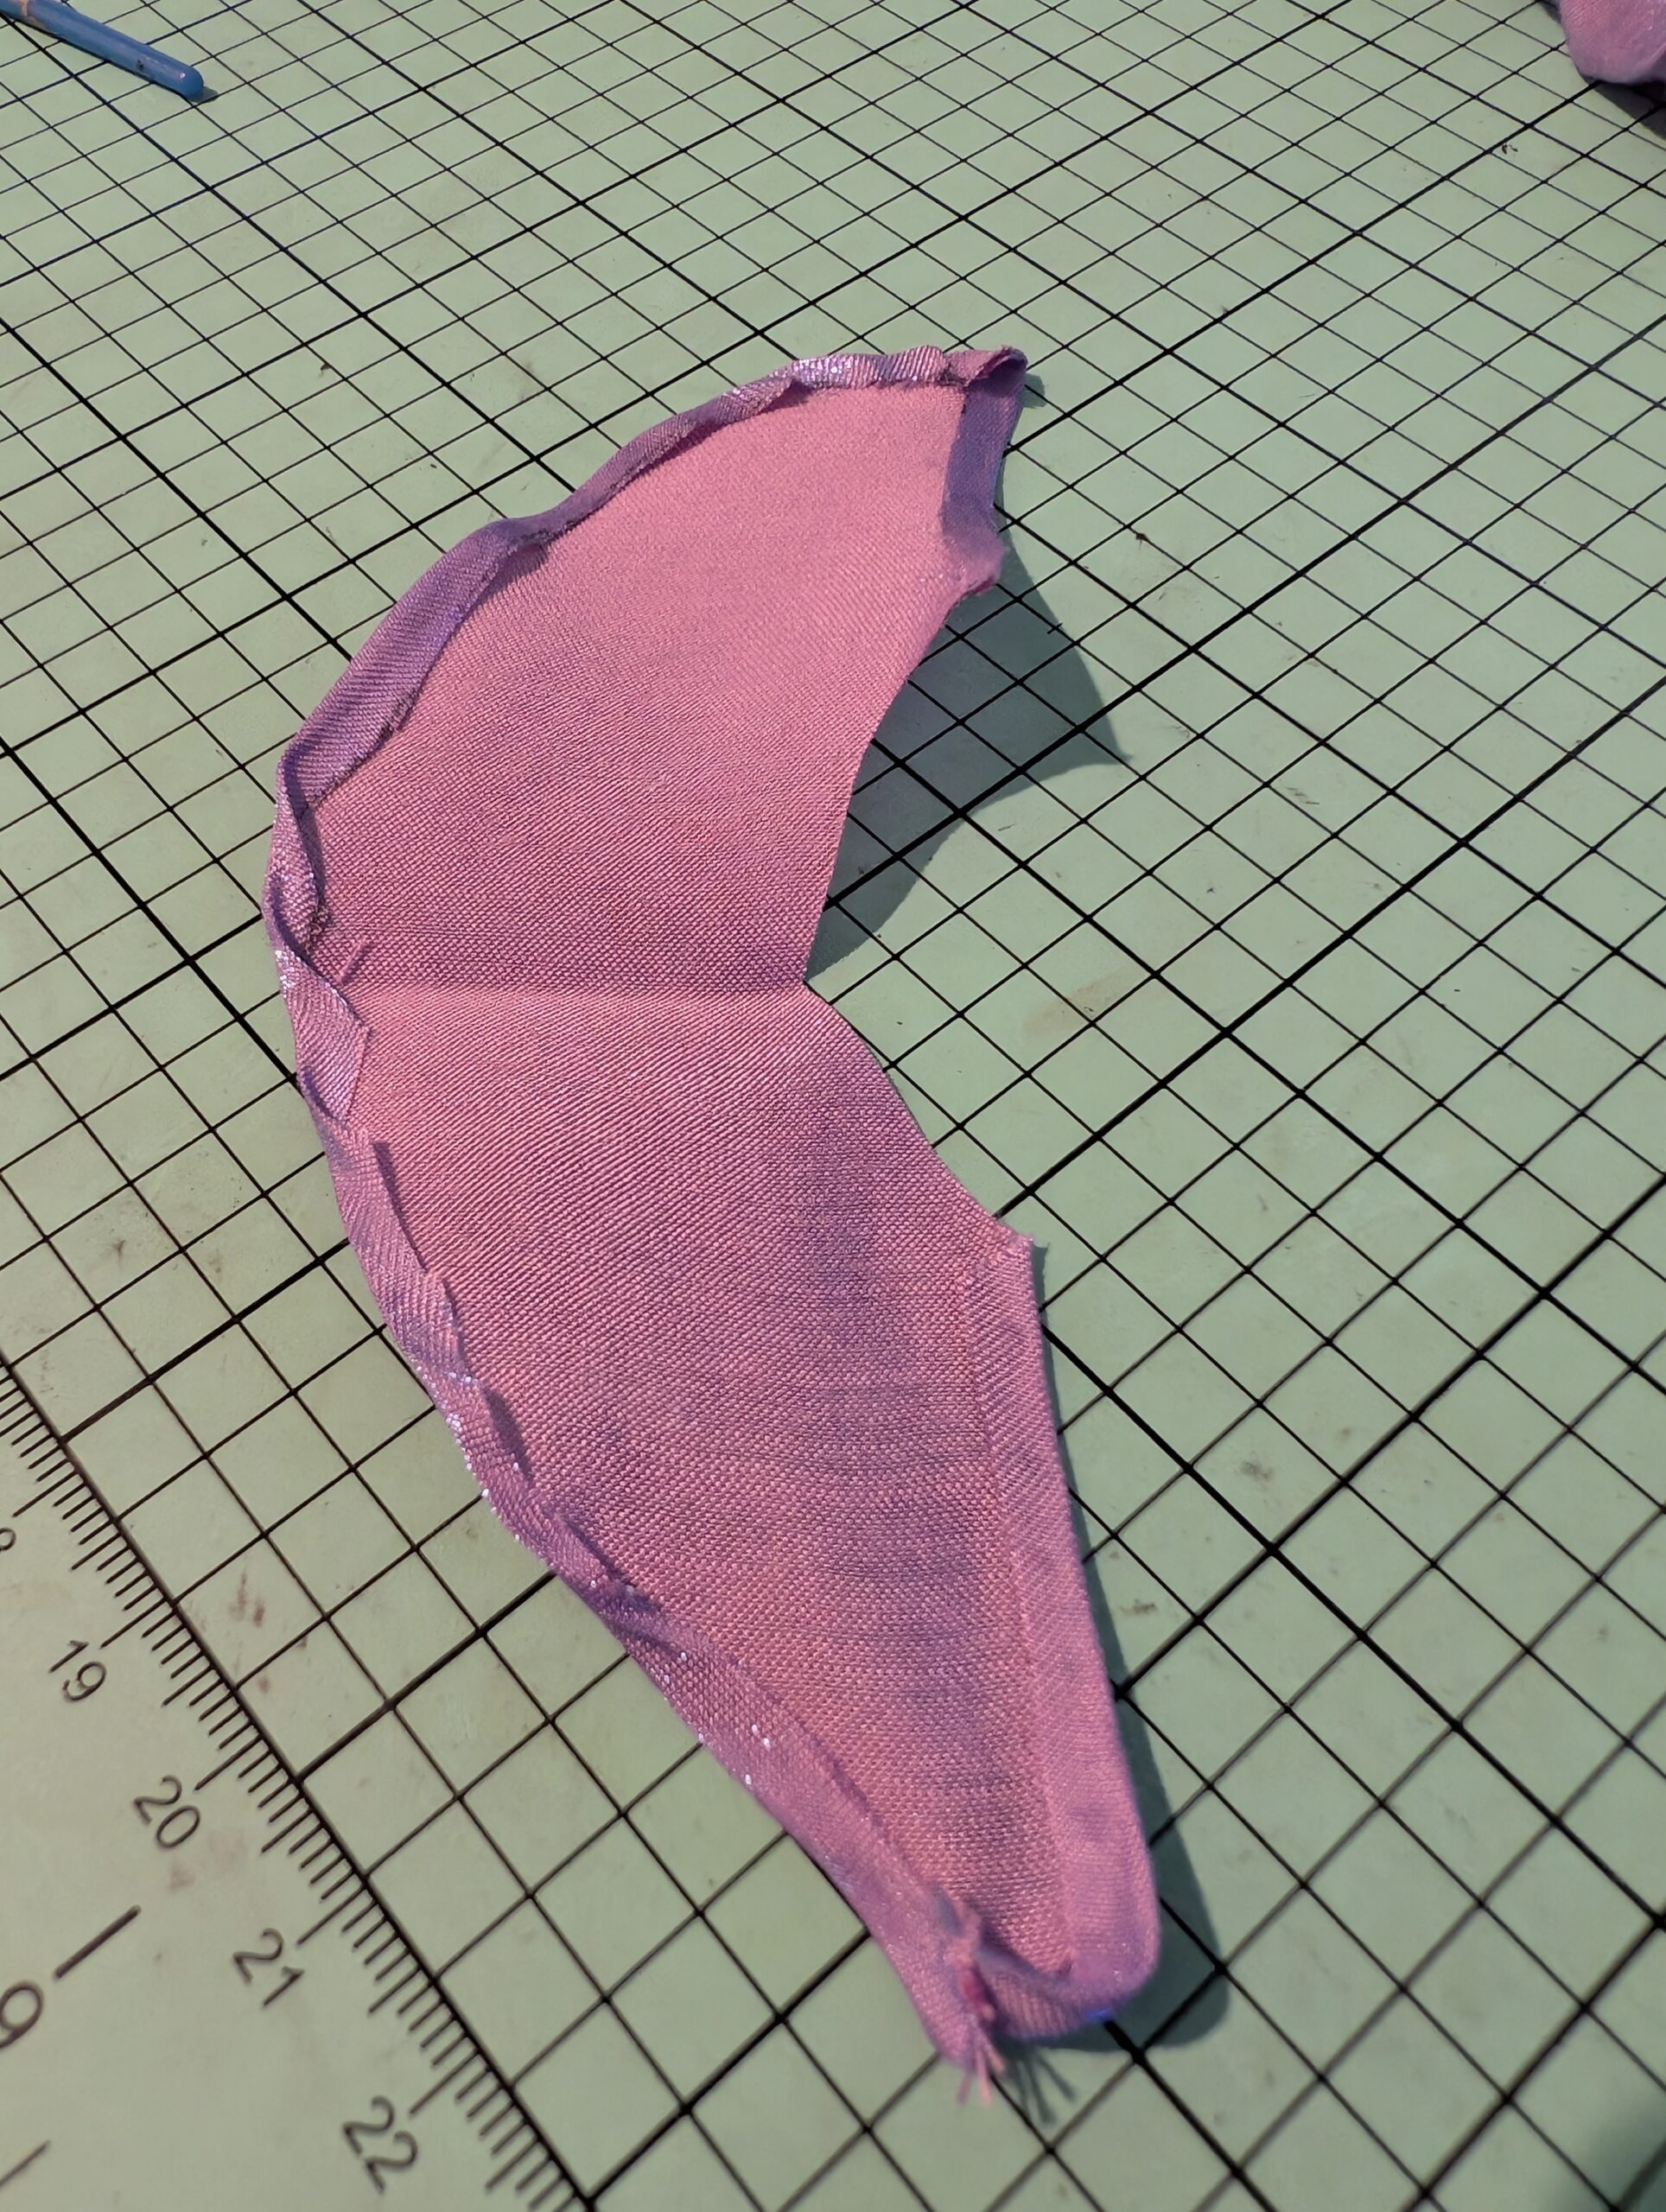
Step 9: Place your Velcro piece as shown below.
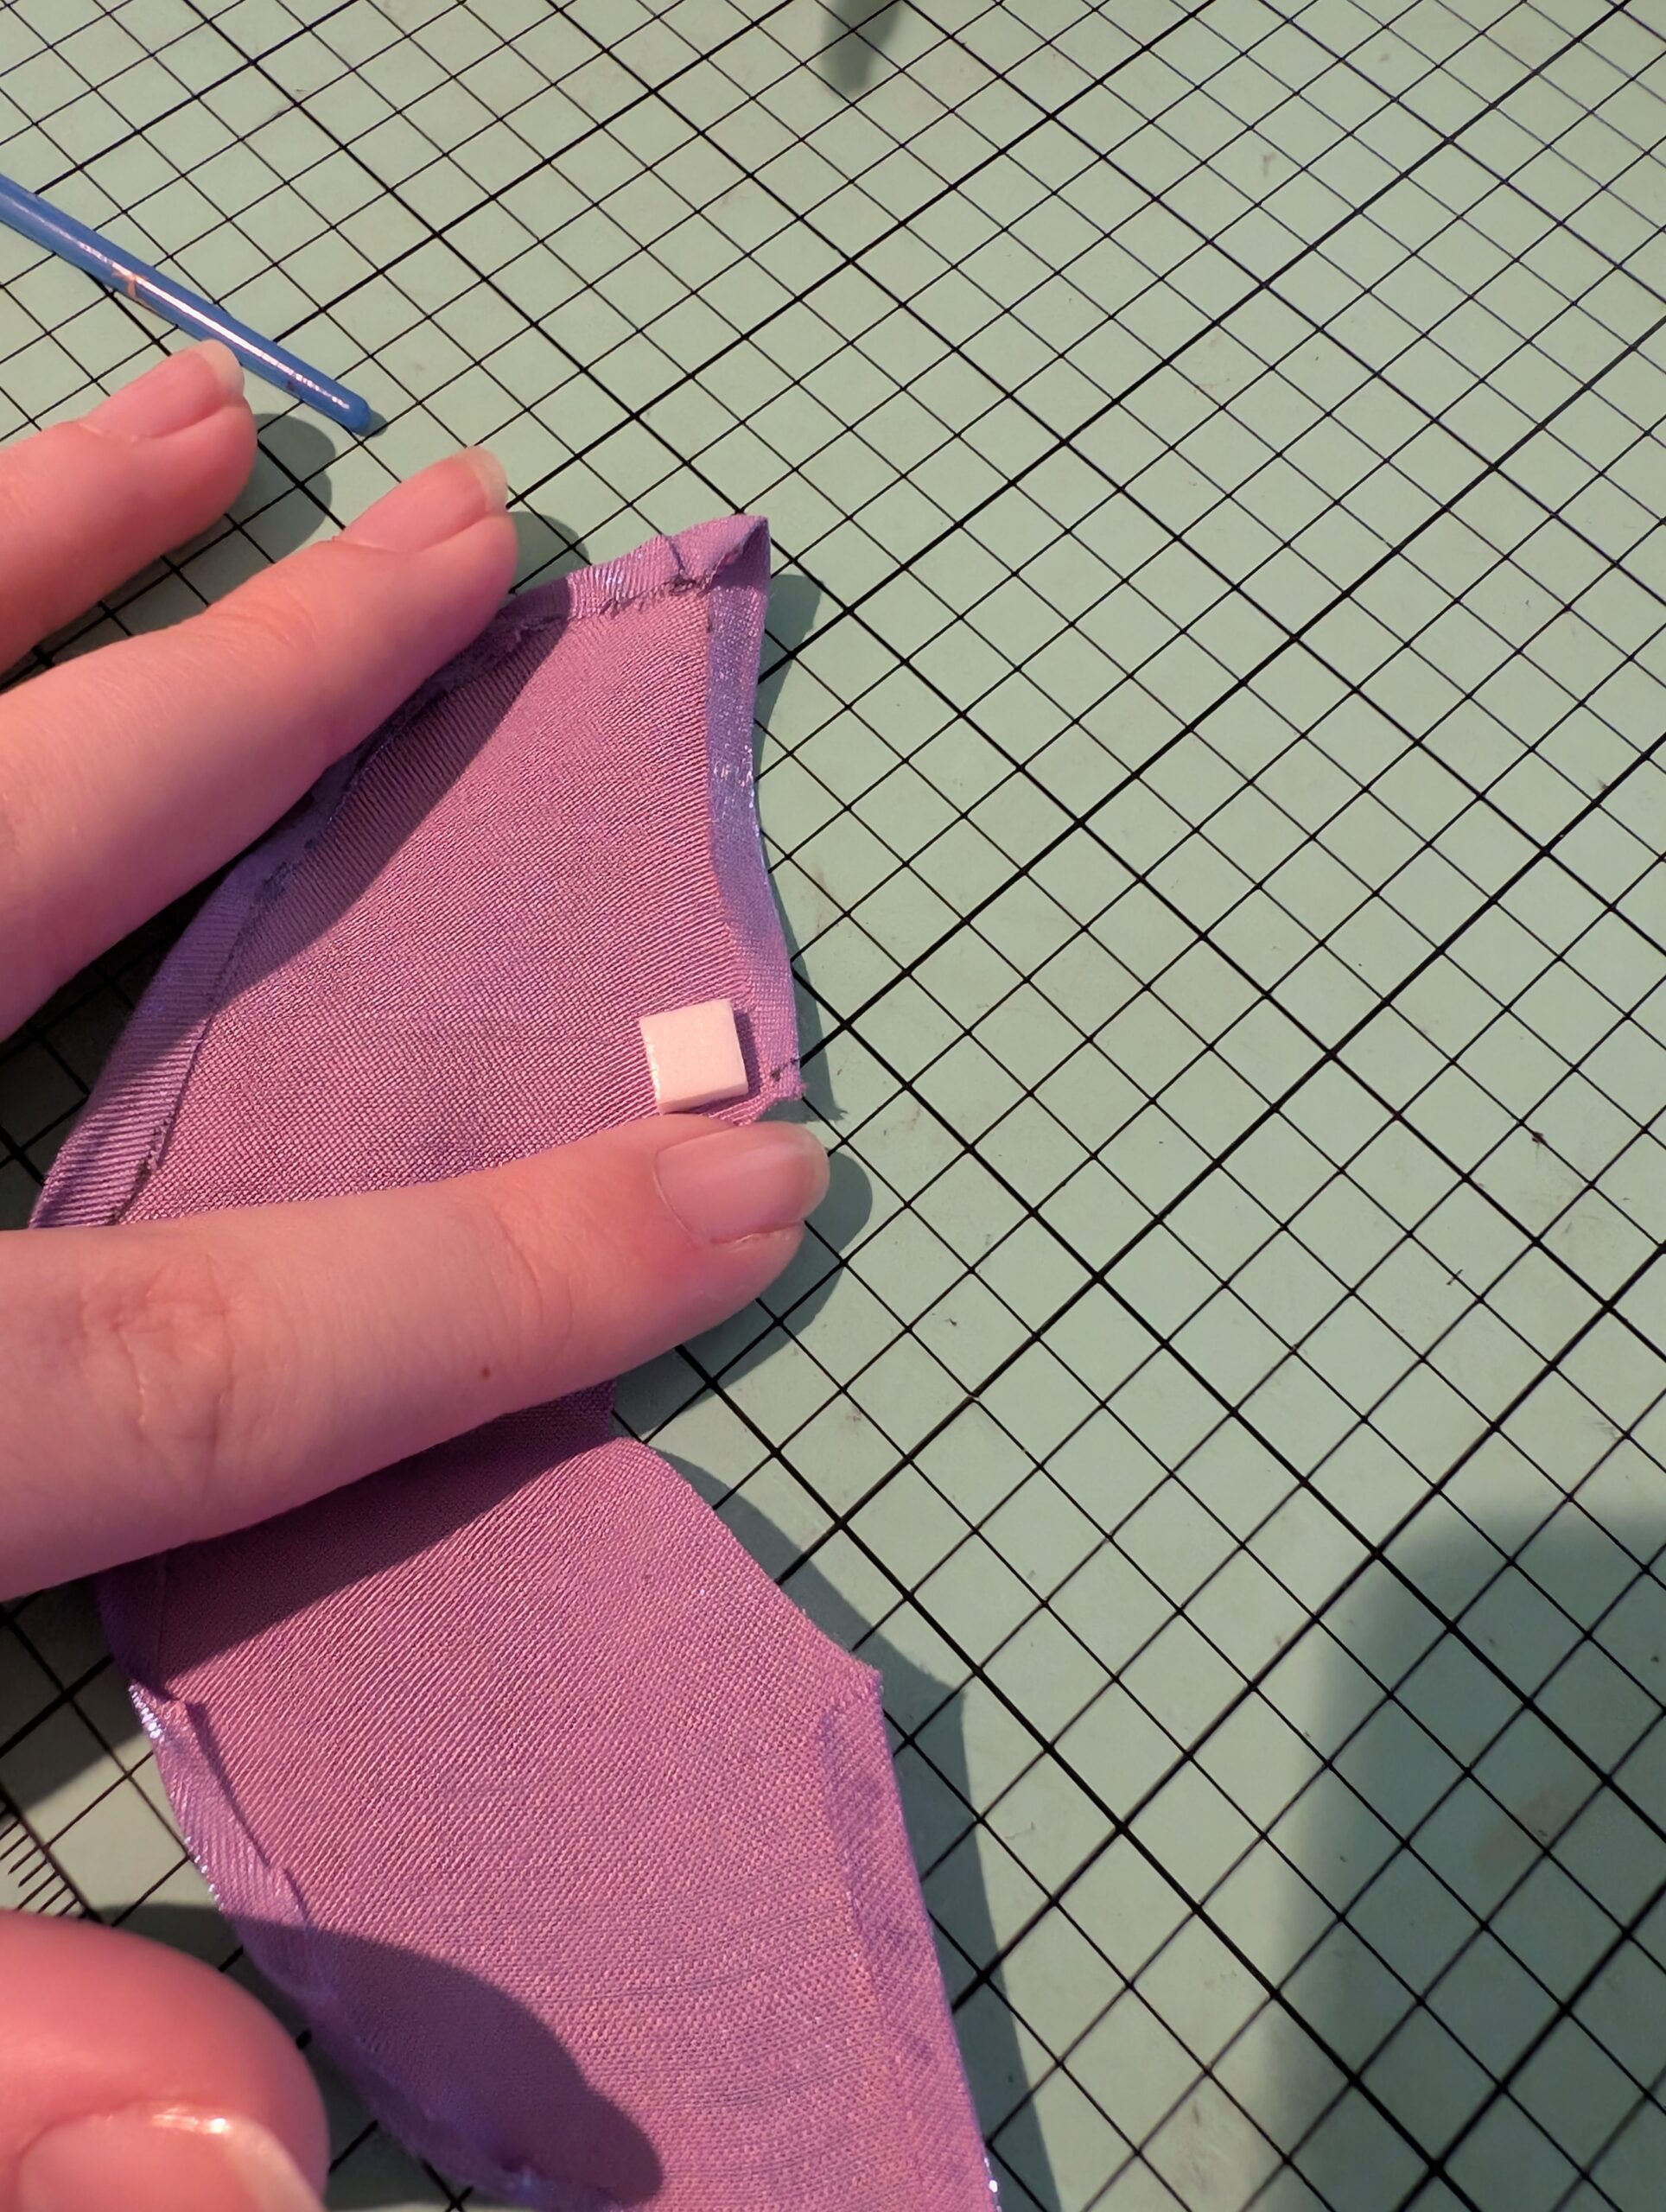
Step 10: Try it on your doll and see how it fits!
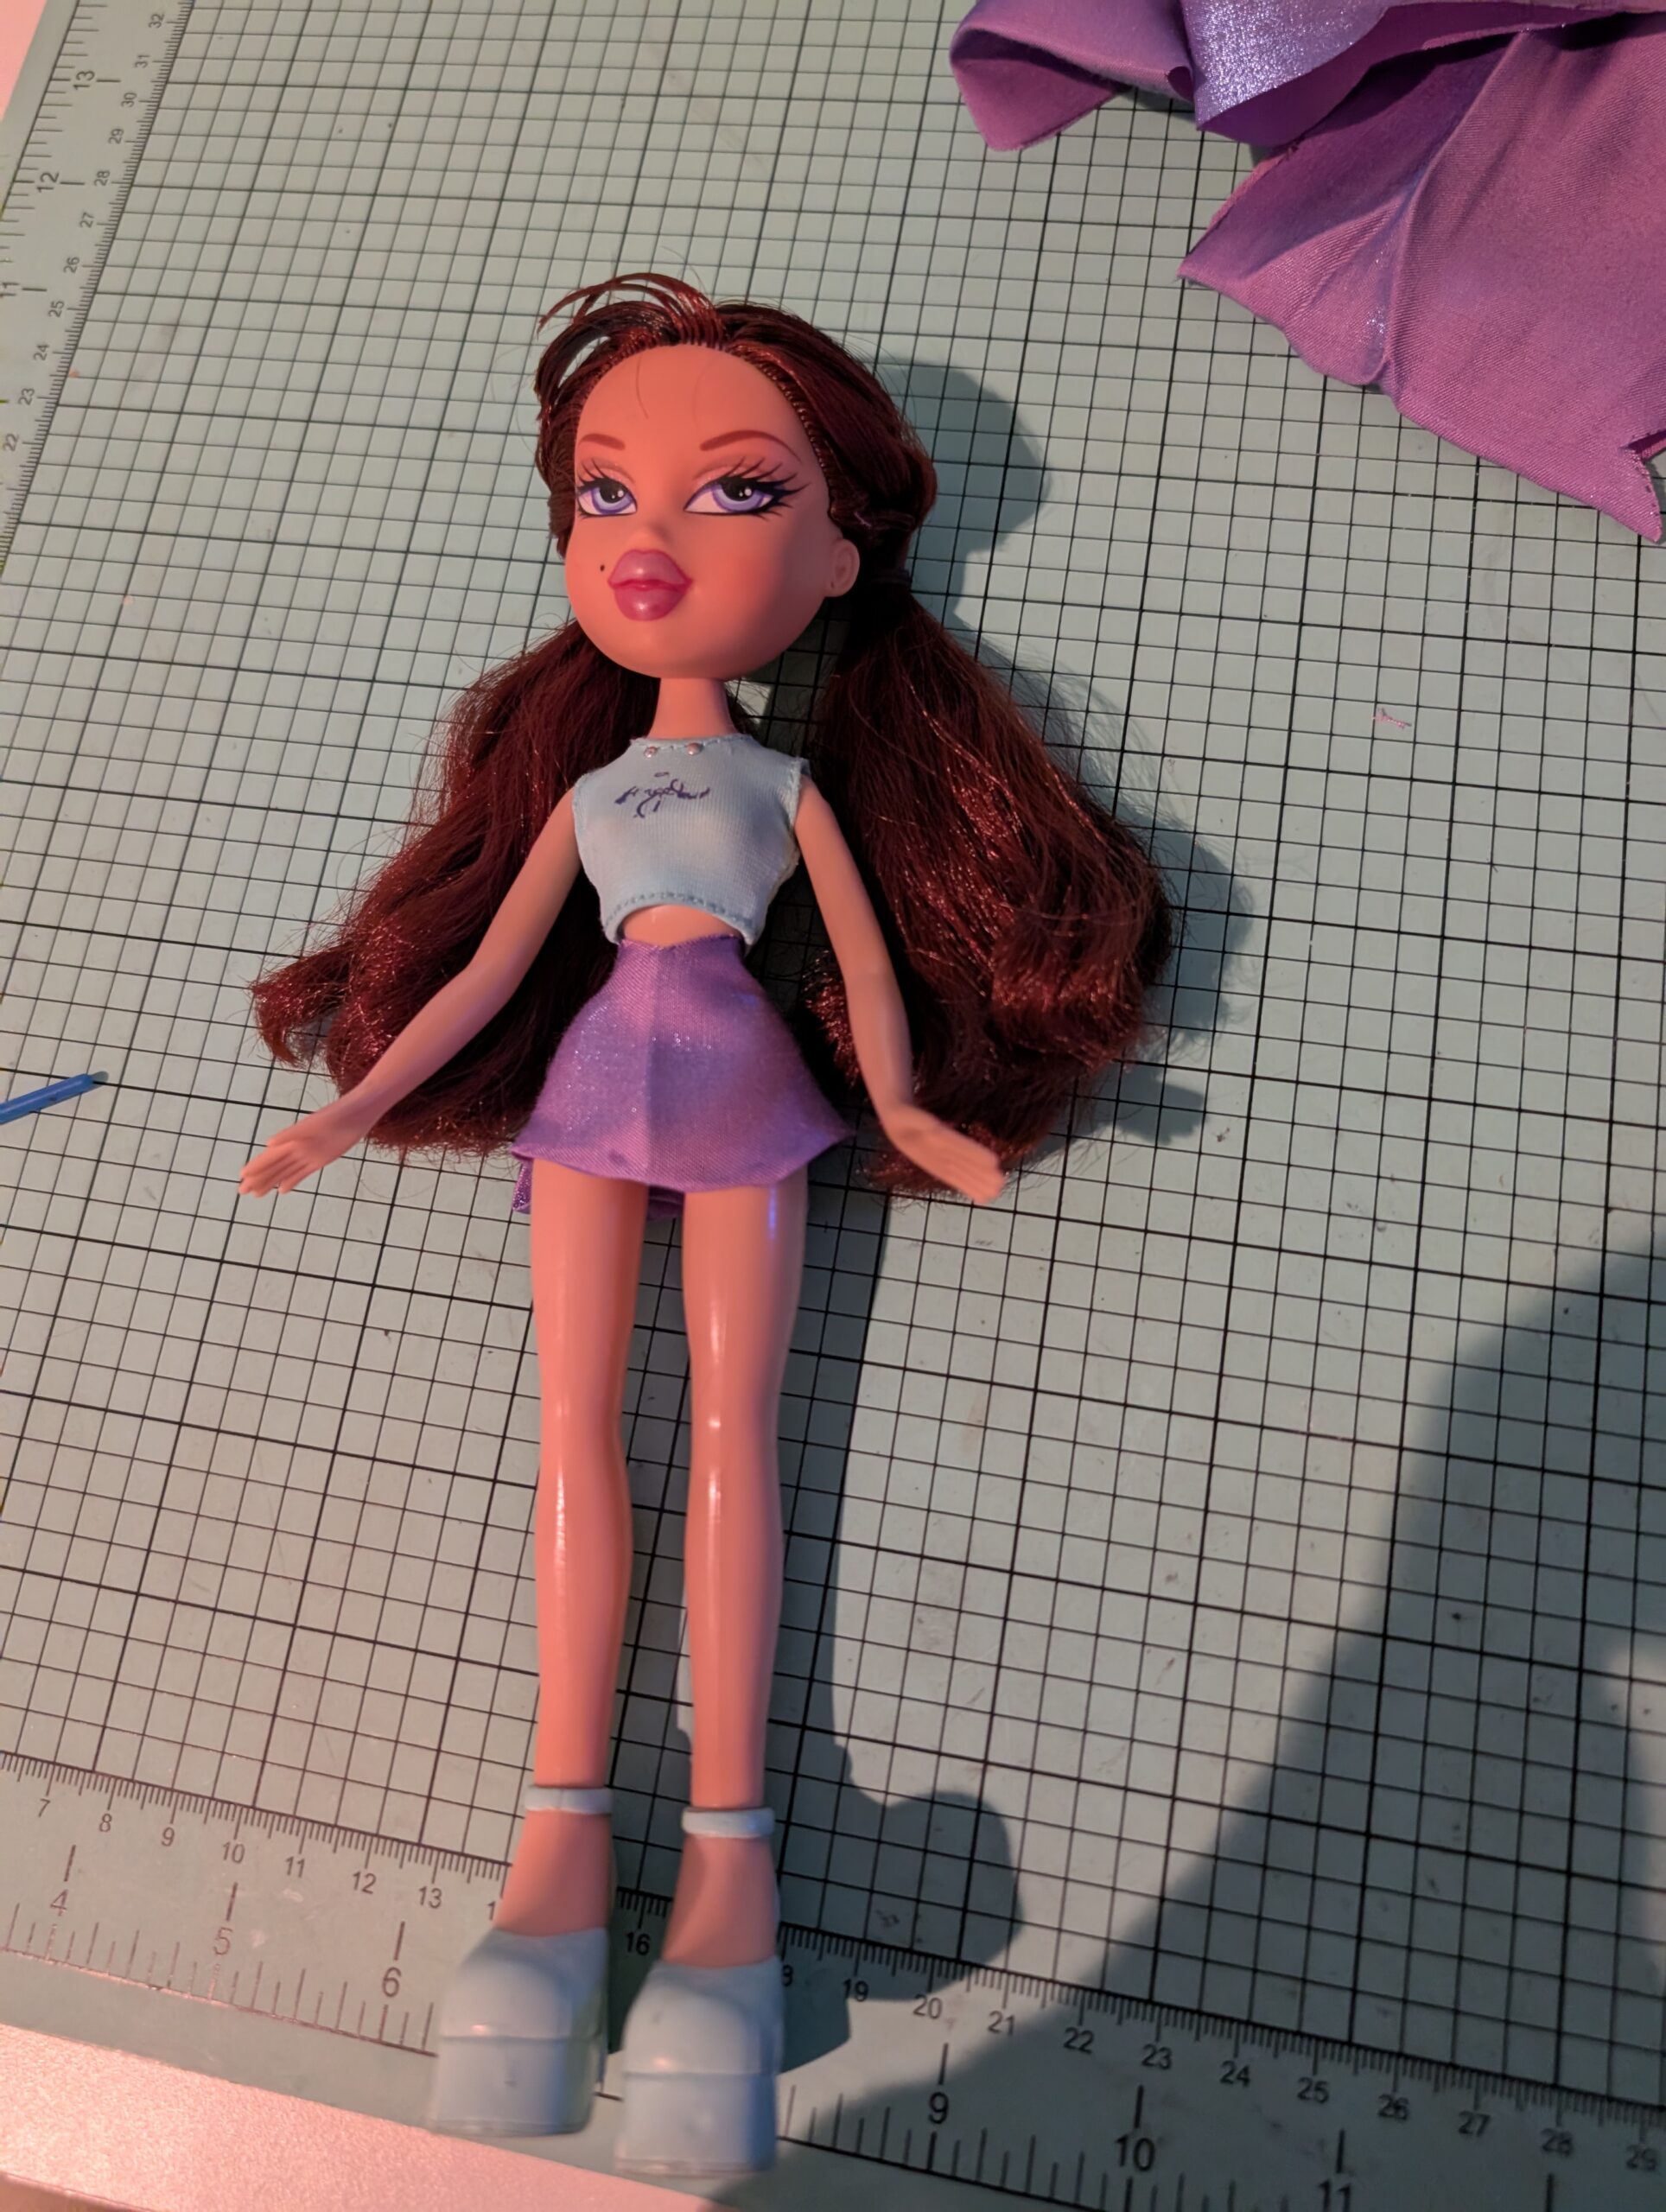
Shirt Tutorial
Step 1: Print off the pattern that will fit your doll.
Depending on the brand of doll you have, the pattern will vary. Please reference the patterns below!
Step 2: Cut out the shape of the pattern. Then, fold your fabric in half once, and place the pattern on top of the fold like so.
Make sure that the paper pattern is lined up with the fold of your fabric. This will make it easier to have symmetrical front and back pieces.
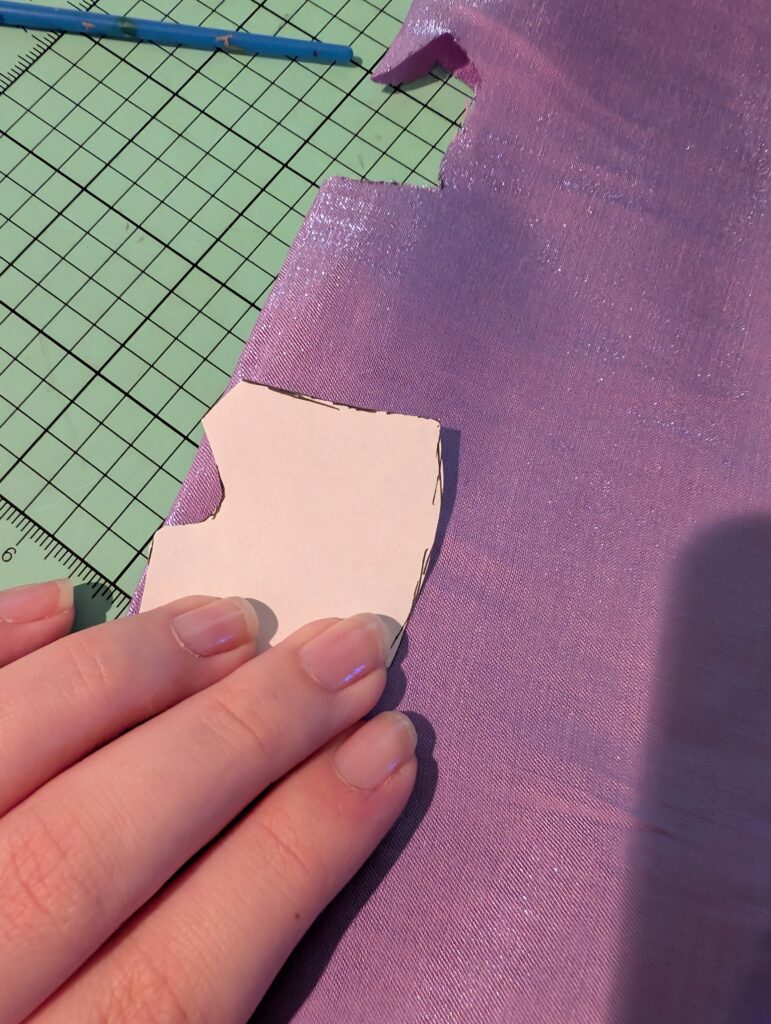
Step 3: Trace the pattern onto the fabric with your fabric marker.
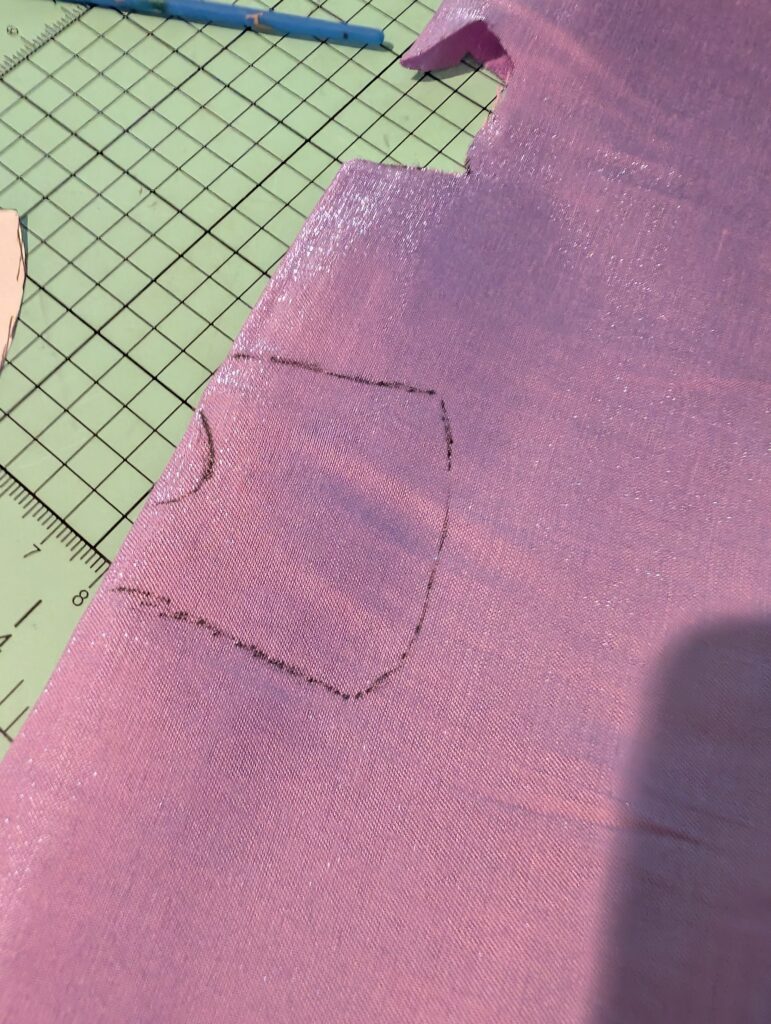
Step 4: Go ahead and cut out the shirt.
I find it easier to cut the neckline part first. This helps me keep the fabric aligned.
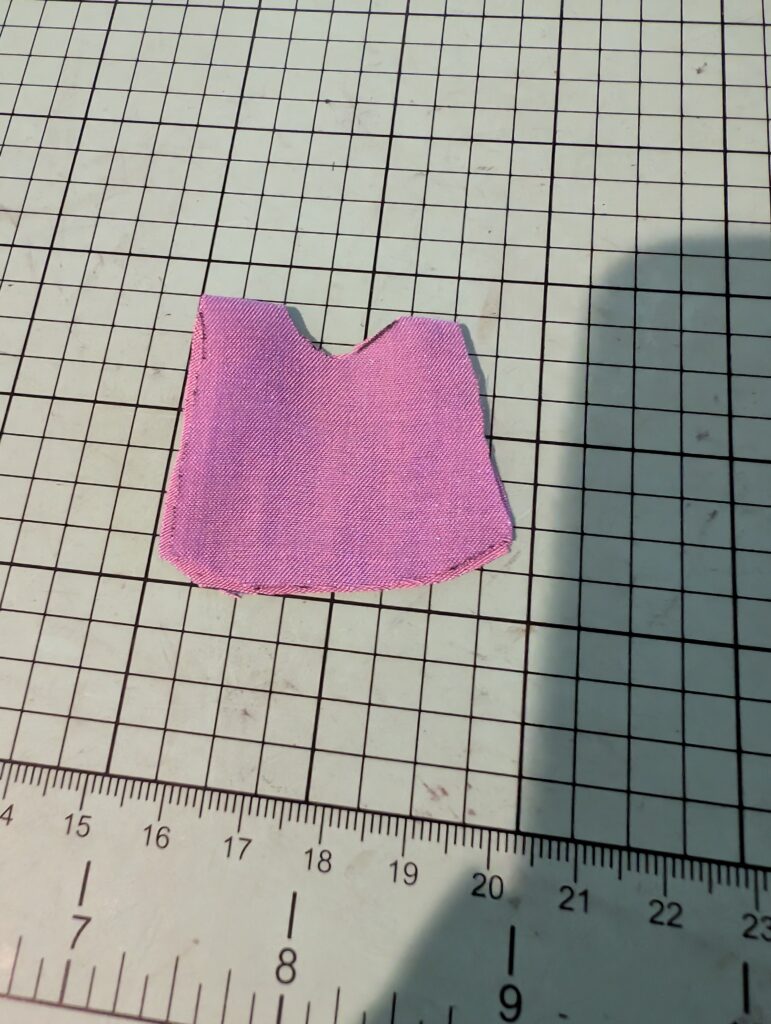
Step 5: Draw a line down the middle of the “back” of the shirt and then cut.
This will make it significantly easier to take the shirt on and off.
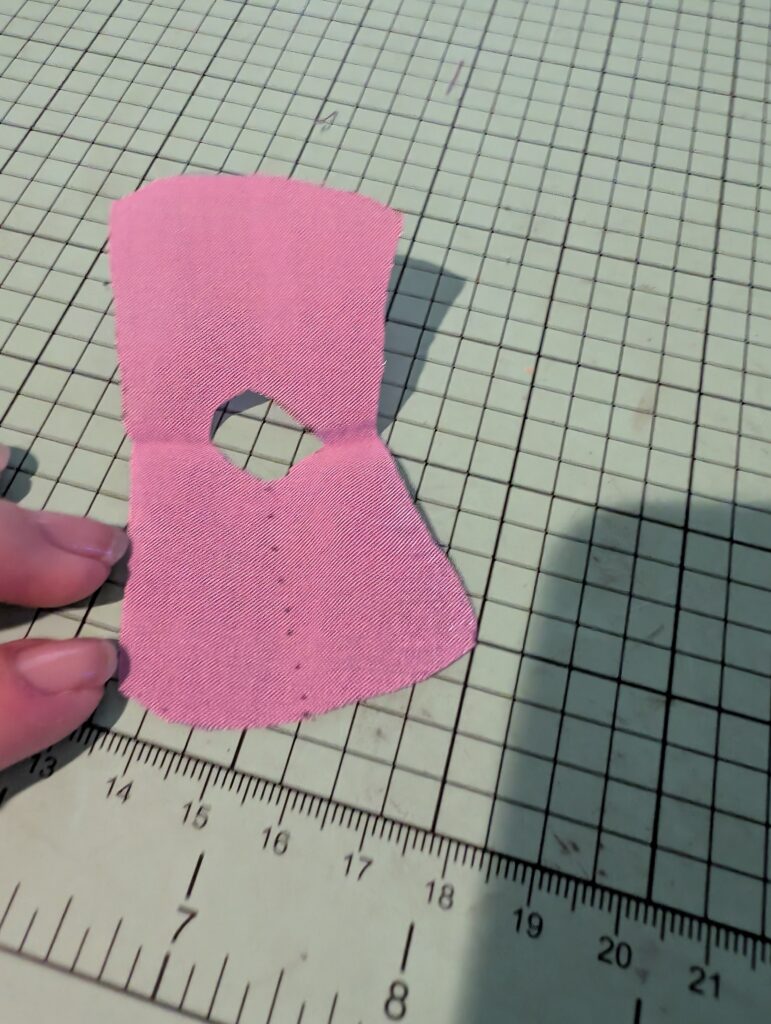
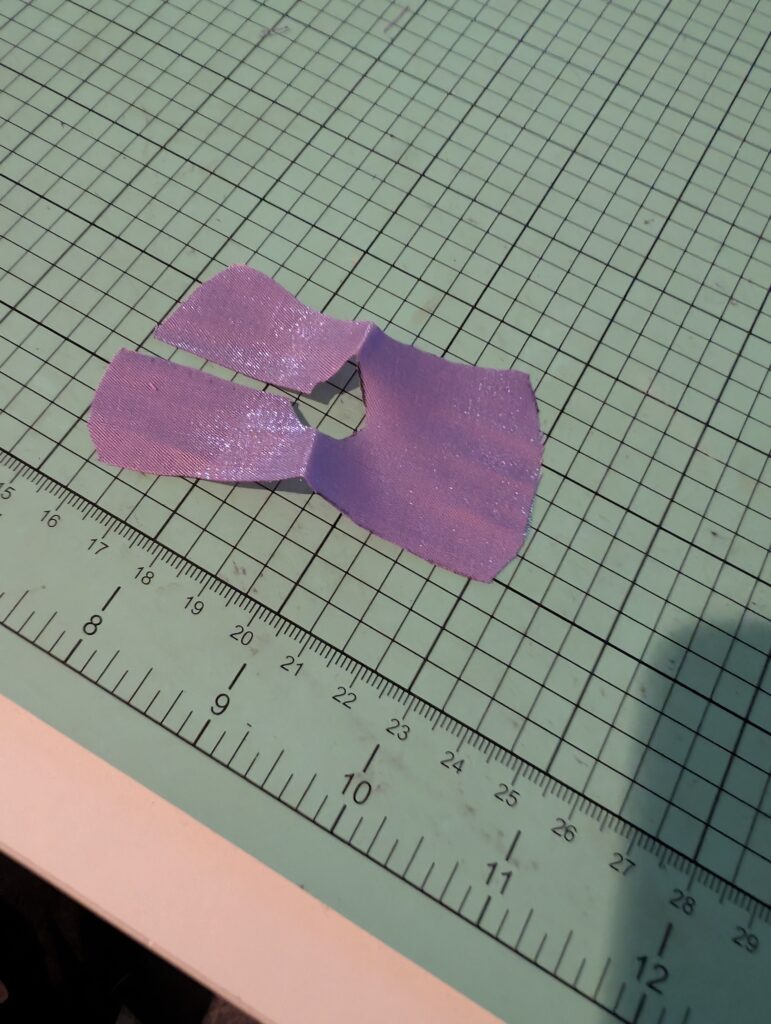
Step 6: Add a thin line of glue to the bottom of the shirt.
Make sure not to add too much glue. You don’t want any overflow.
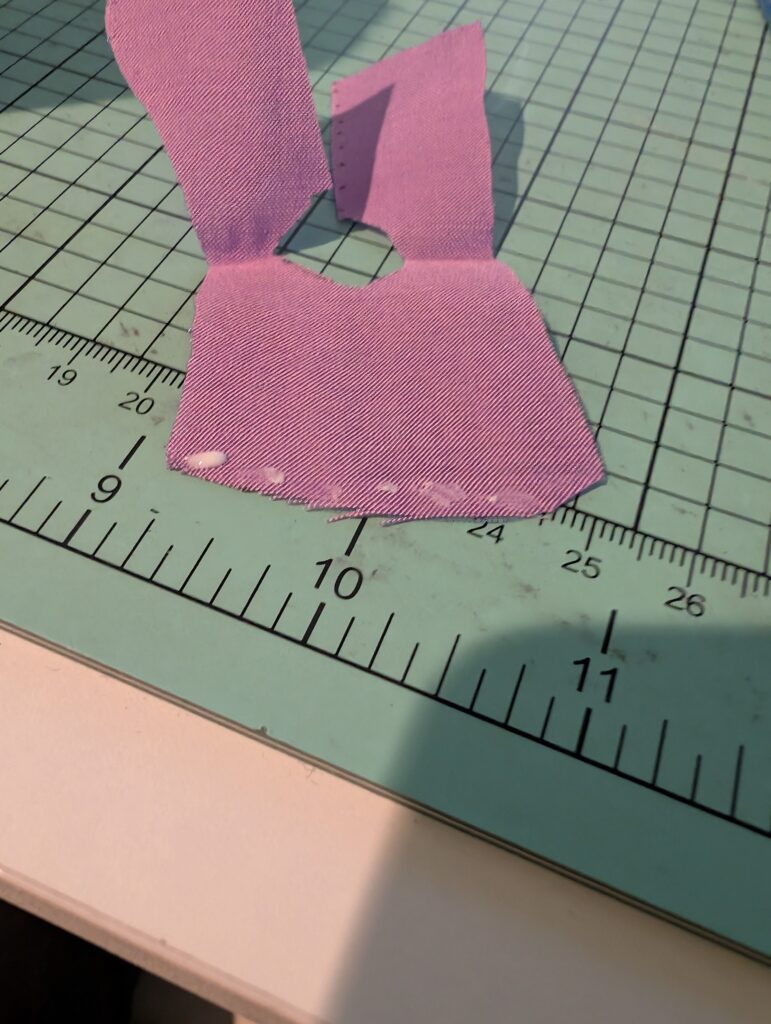
Step 7: Press down the glued fabric.
Press down just like how it’s shown in above examples. This will make the hem of the shirt look much cleaner.
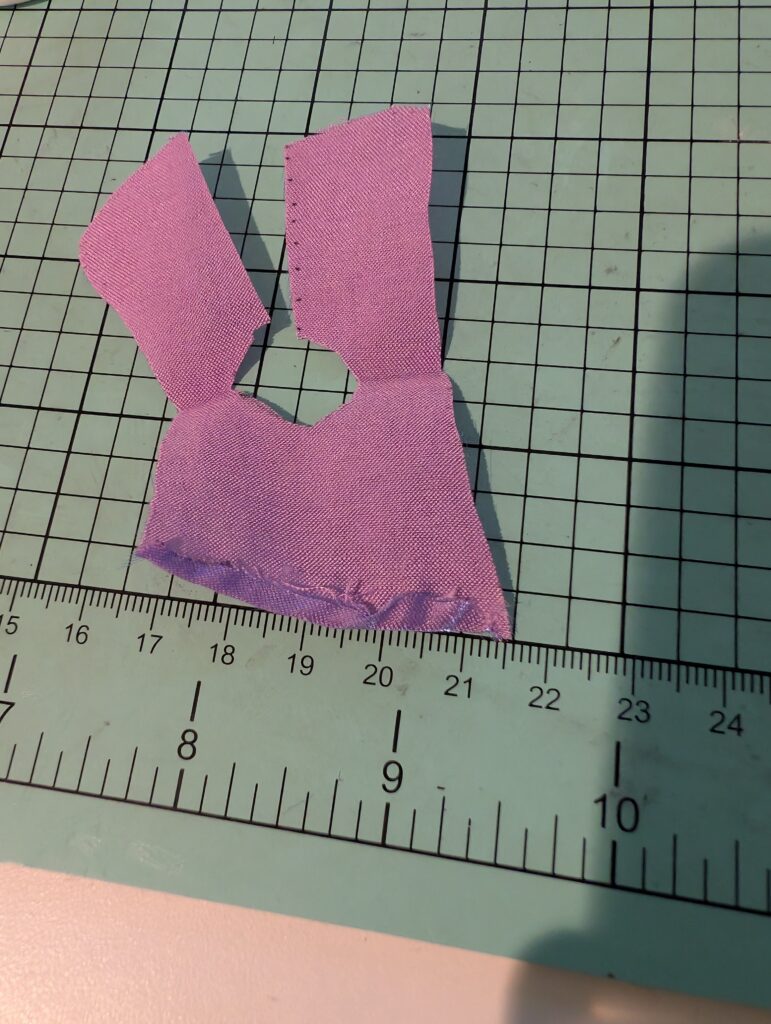
Repeat the last two steps for the other side of the shirt.
Step 8: Place a thin line of glue on the sides of the fabric. Make sure to leave room at the top for the sleeves.
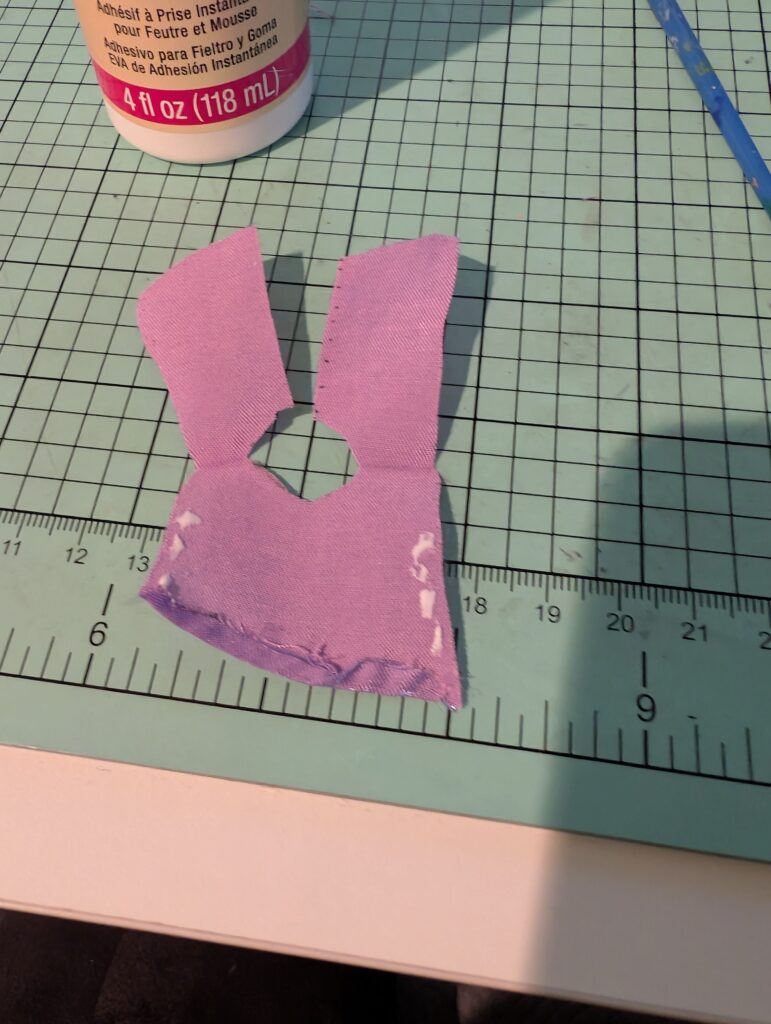
Step 9: Press the glued sides together to form the shirt.
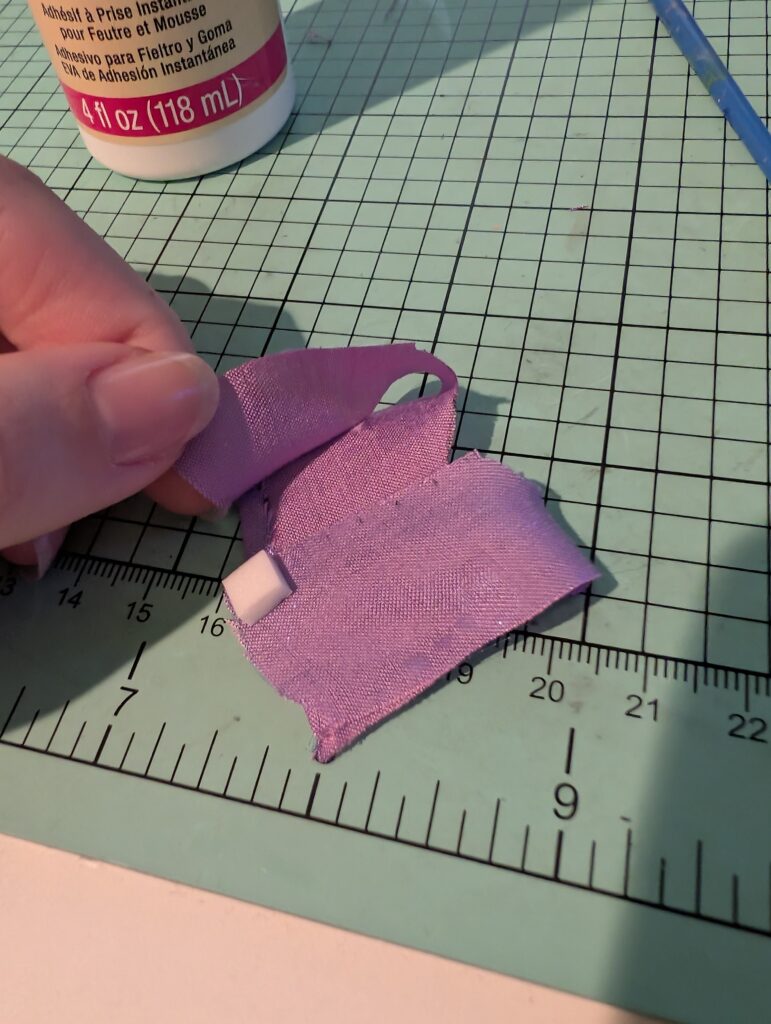
Step 10: Place your piece of Velcro on the back of the shirt where the cut is. (Ignore the fact that I’m using a foam square…)
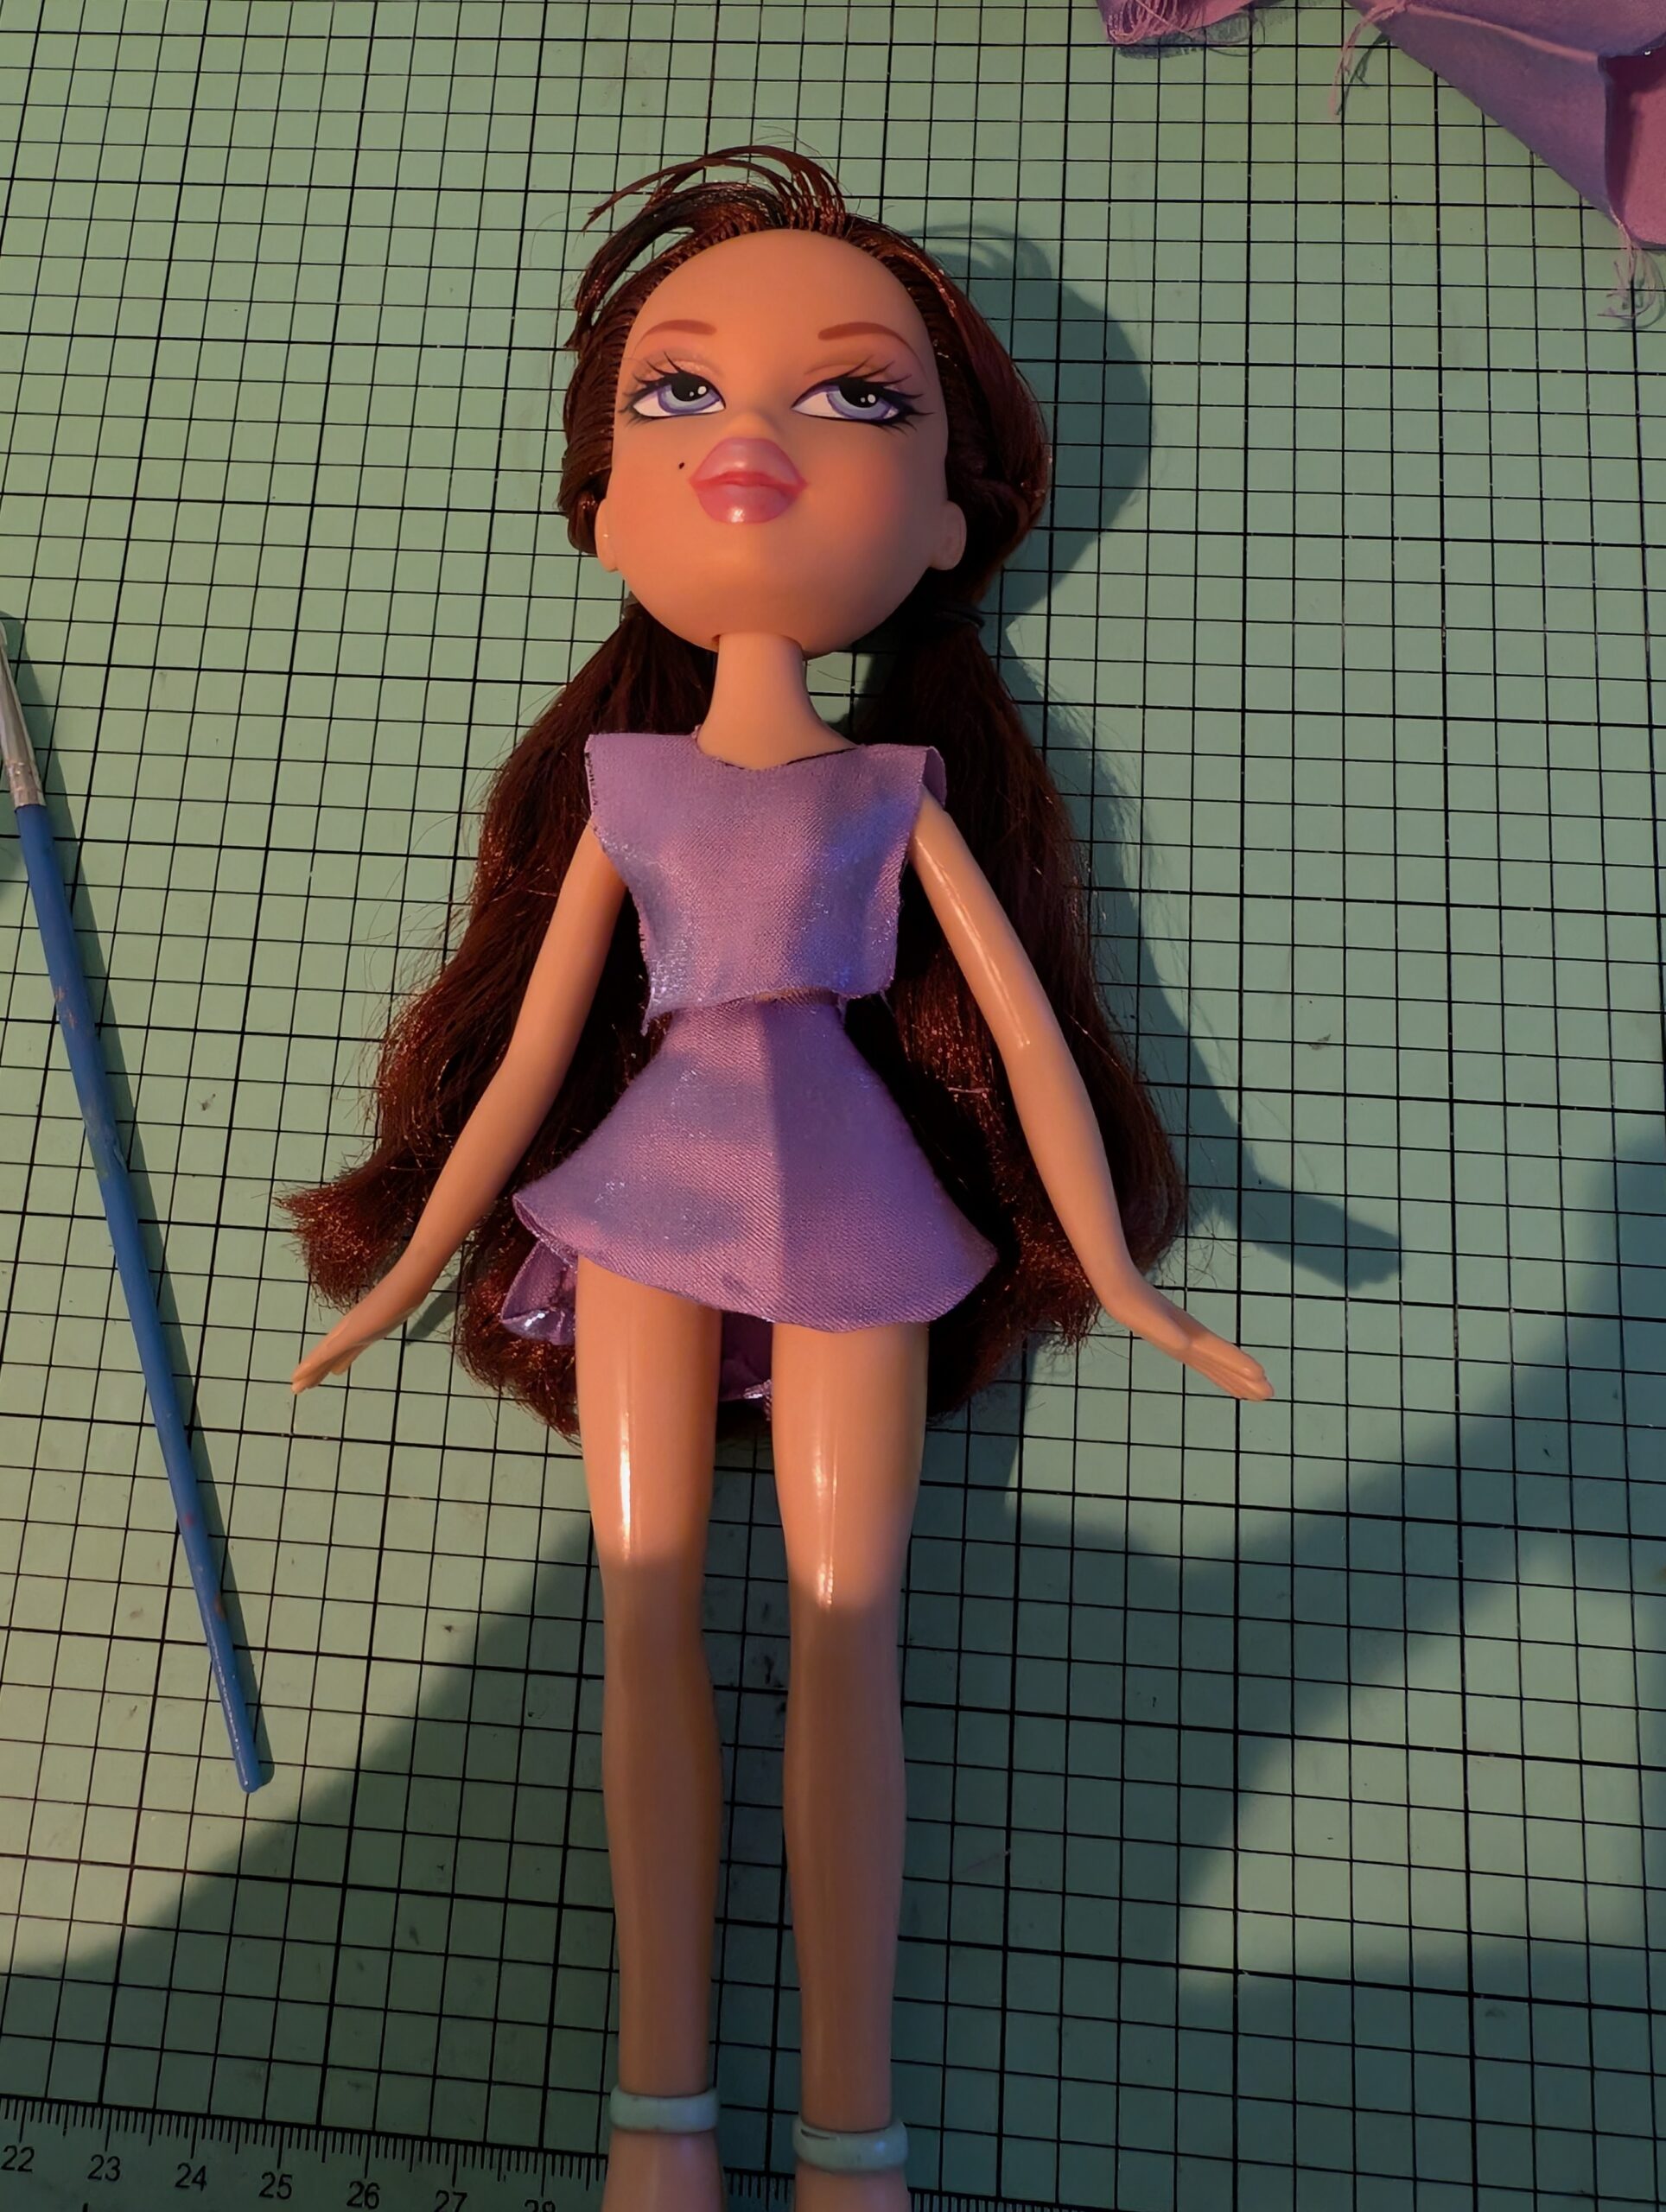
Step 11: Try the shirt on your doll and see how it fits!
If it is too small, repeat the process with an enlarged pattern.
American Girl Doll Patterns
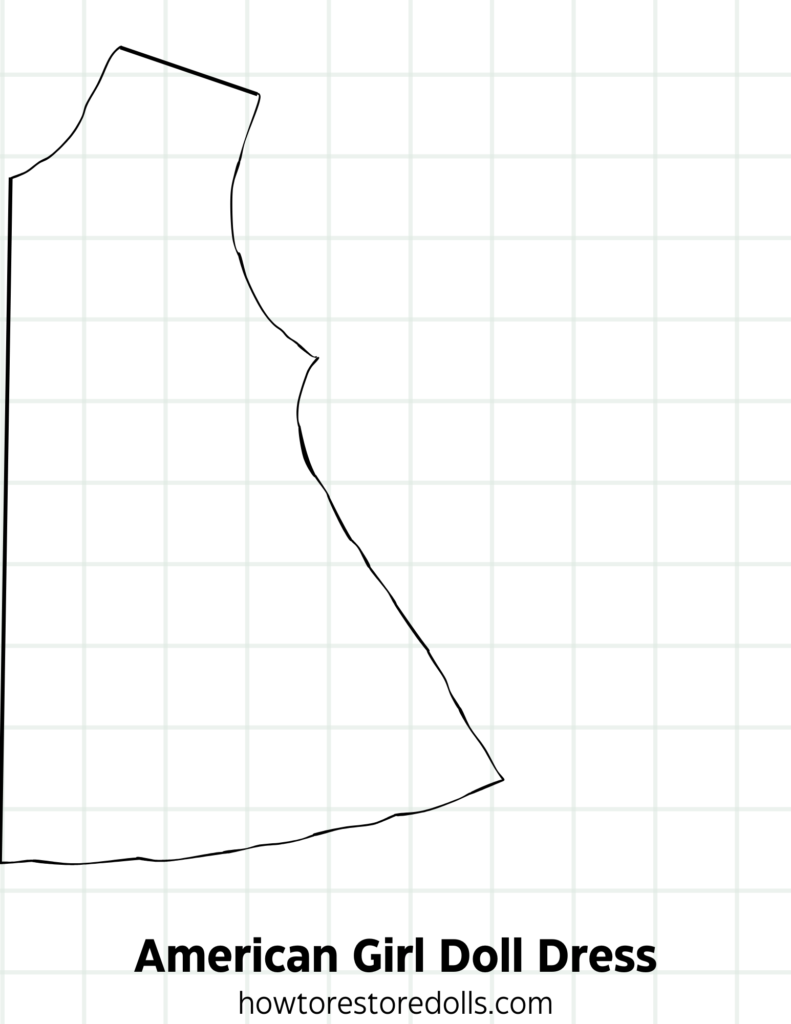
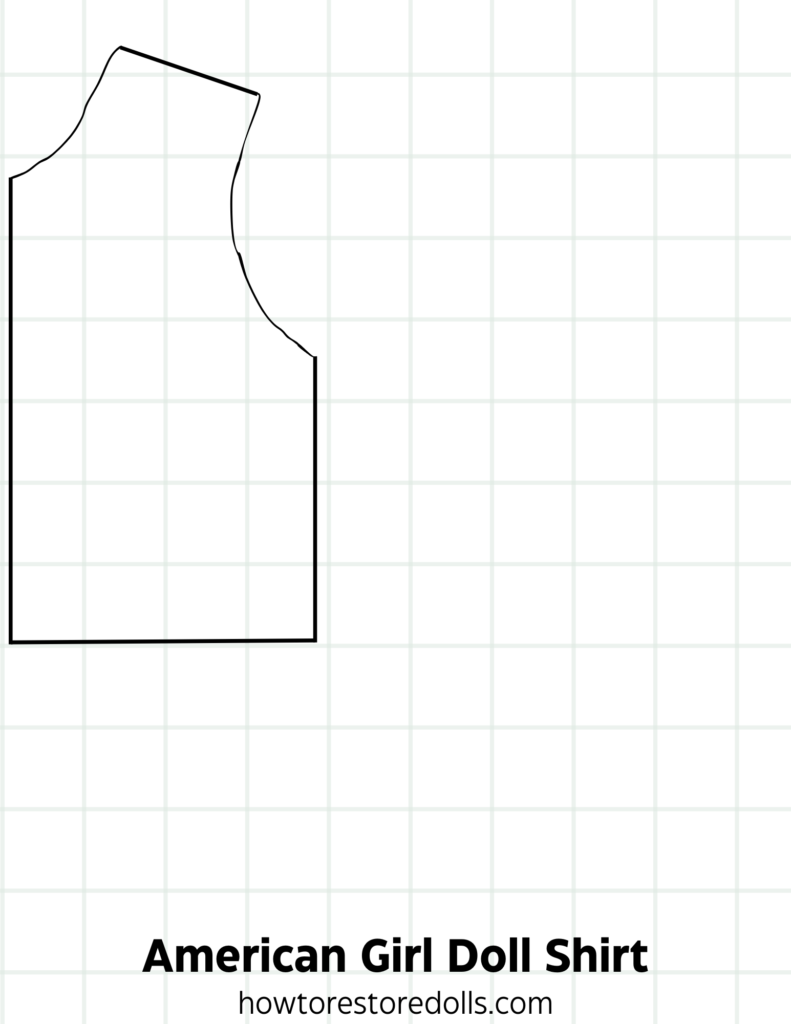
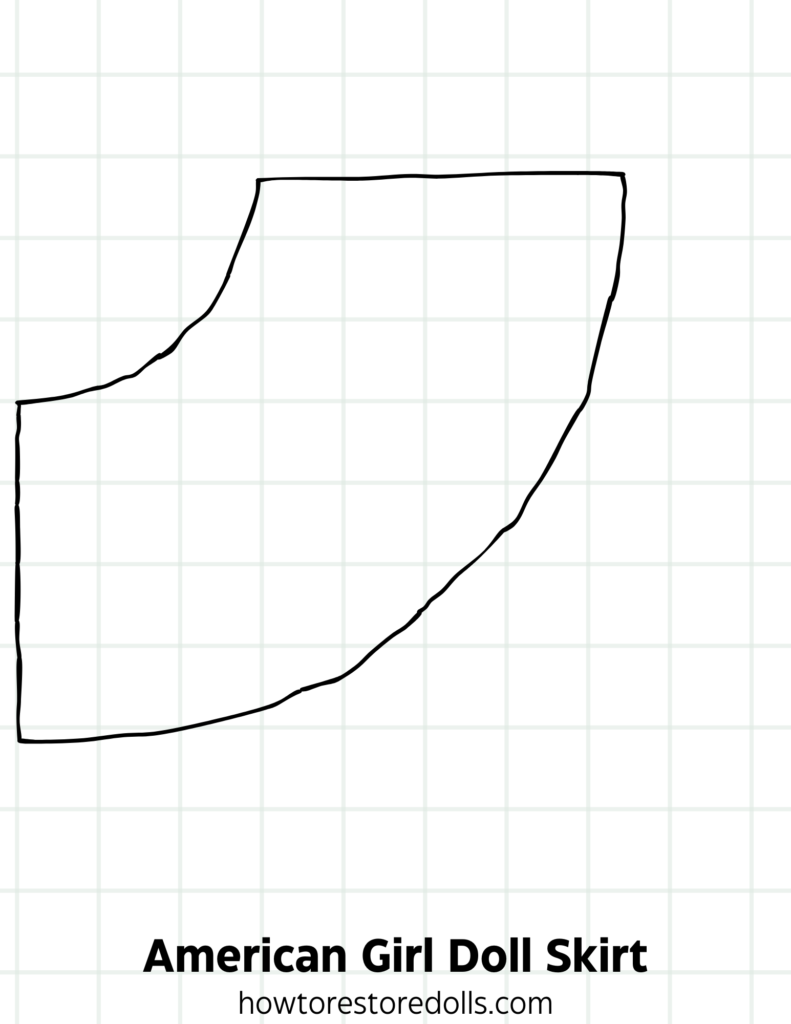
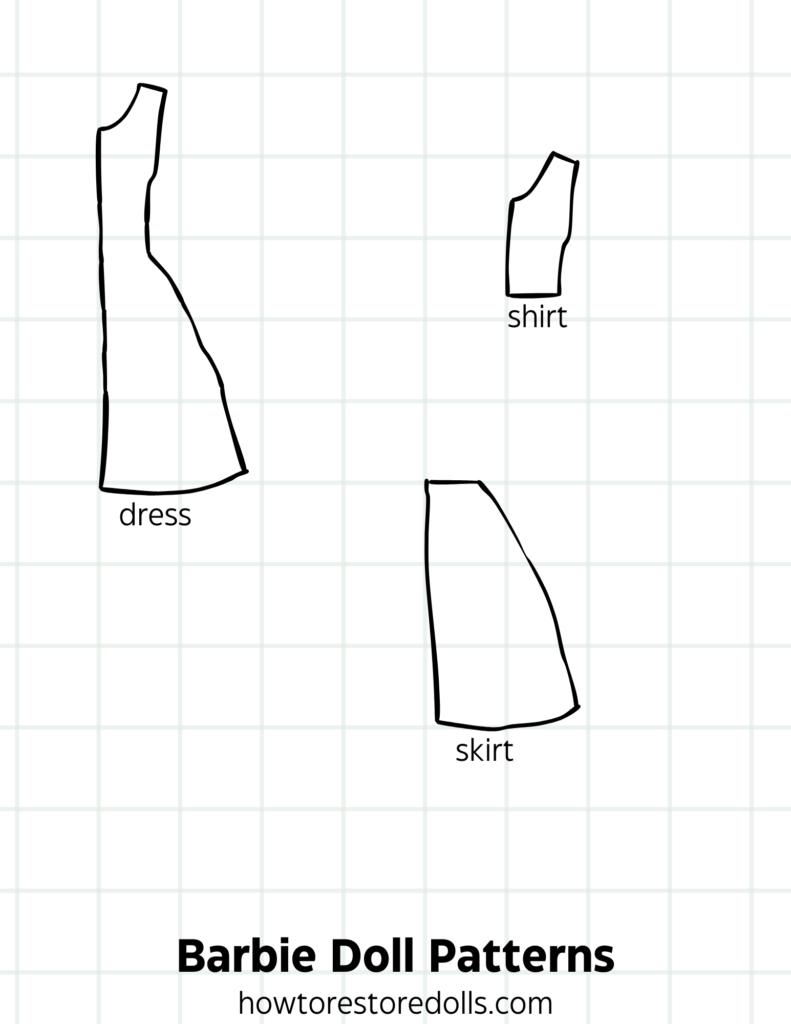
As I’ve made these patterns to scale, the no-sew patterns for American Girl are separated into three different images. The other patterns will be compiled into one image per brand.
American Girl Doll Dress Pattern
American Girl Doll Shirt Pattern
American Girl Doll Skirt Pattern
Barbie Doll Patterns
Bratz Doll Patterns
Monster High Doll Patterns (G1/G2)
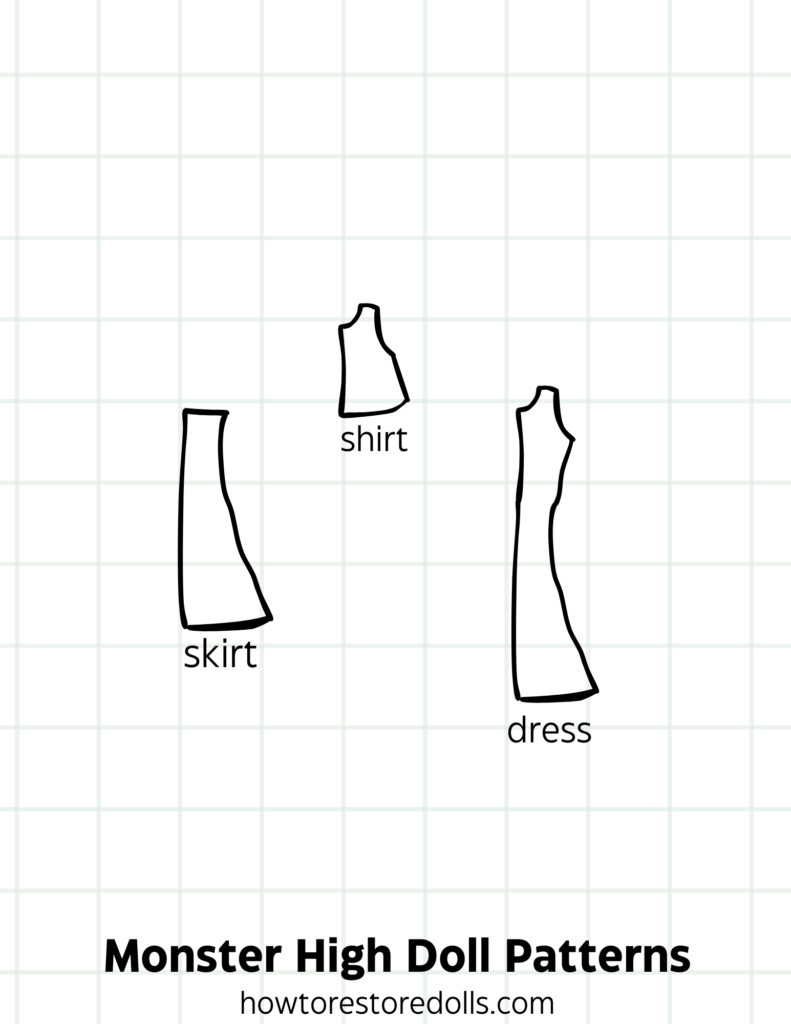
Since the newest generation of Monster High dolls (G3) introduced much more diverse body shapes in their dolls (which I love), it unfortunately makes it much more difficult to provide a universal pattern for them.
So, the above pattern will likely only fit G1 and G2 dolls as they all have the same body shape.
I hope you had fun learning how to make clothes for dolls without sewing! Please feel free to share how this craft went for you.
Leave a Reply